Your cart is currently empty!

I want a fancy pond with my new bog plants
Learn how to create a stunning pond with carefully planted bog plants and trimmed bullrushes, while also managing garden compromises and tackling goutweed infestation.
Your cart is currently empty!
The preferred planting seasons for daylily bulbs are spring and fall, but you can plant daylilies any time the ground is frost free. Plant daylilies like these so the light green line just above the roots is covered with one to two inches of soil. Space them two to three feet apart. Plant pastel, pink and red daylilies in partial shade most others can stand full sun.
Use low-growing daylily cultivars and varieties along with late-flowering ones in front of the border, as an edging for taller plants, or as pool-side plantings. The medium sized group, which includes the bulk of varieties, can be used in almost any garden situation.
They are (Stella D’Oros) handsome planted in front of a trellis of morning glories, clematis, or passion vine plant. Use them as companion plants for lythrum, delphinium, gilia, or other tall plants. And they are at their best planted near evergreens or holly. The taller varieties make splendid background material, a screen for service areas, or foundation plantings near a wall or fence.
Listed below are some of the daylily cultivars widely known for their amazing quality and low maintenance.
Daylily plants can stand more drought than many other perennials. Given enough moisture to keep the soil barely moist, they will respond with luxuriant growth and a good flower crop. Apply a slow-release fertilizer twice a year, in the spring before blooming, and reblooming daylily after they have finished flowering.
If the weather is exceedingly dry, daylilies may be bothered with thrips and attacks by spider mites. Eradicate thrips with a product such as Malathion we also like organic Neem oil.
Daylilies are prettiest when grown as specimen clumps. Unless you wish to propagate a rare or expensive type, do not divide daylilies until they are about five years old. Then dig the entire clump and make the divisions with a sharp spade. Replant, spacing them as suggested for establishing newly purchased clumps. Here are tips on dividing Perennials.
In our area the dormant varieties are hardy and with covering the semi-evergreens winter fairly well. Foliage color on the evergreens stays green the year around. They are splendid for Southern gardens.
No. A number of the new varieties produce flowers with double or semi-double petals.
Since daylilies come in such a wide range of bloom colors – cream through all shades of yellow, orange, cinnamon, pastel pink, red and purple, you can use them as companion plants for any annuals or perennials.
Blue platycodon (balloon flower), Blue morning glories, clematis, lavender, pink and red phlox, Canterbury bells, Shasta daisies, Gilia rubra, and lythrum are but a few of the plants to grow with your daylilies.
Some varieties such as low-growing yellow flowered variety in early spring but the bulk of daylilies blooms in June and July with a few blooming later in the season. Southern gardeners often get two crops of bloom from their daylilies.
Yes. Planted and cared for as any other seed-grown perennial day lilies produce flowers in about three years. You can purchase seeds from dealers or you can make your daylilies produce seed by removing some of the pollen (yellow dust on the anthers) and placing it on the stigma of another daylily. The seed ripens in about six weeks.
Maintaining a beautiful gardening space takes time and planning. Over time, some plants may outgrow their location and will need dividing or thinning out. Knowing how and when to act is key in doing so.
When it comes to dividing dallies you may find yourself in need of some extra tips on pointers. Fortunately, the world of video is here to help, providing step by step instructions on what you need to do.
When should you divide your daylilies? On the day when the last blooms end! You’ll still have plenty of time for the root system to get established before winter
Daylilies bear dependable and colorful flowers in the landscape. Also, they easily adapt to many soil conditions but prefer a well-drained soil.
These tough perennials are known for their low maintenance, requiring little special care. Moreover, we shared info about them before in another post like growing them on a balcony.
Over time they need to be divided. Check out this step-by-step instructional article on dividing daylilies.
For many, the daylily serves as the “perfect perennial,” almost disease resistant, few pest, tough, almost carefree, adaptable, handles drought well and just gorgeous colors.
Whether you go east, west, north or south, you invariably find daylilies in the living garden, for the “daylily” makes one of the most adaptable of plants. It looks equally at home in perennial beds, and thrive in almost any type of soil. One reason for both the versatility and popularity of this plant is the vast choice it offers – 1,000’s of varieties in:
Its color green height ranges from one to seven feet, and flowers may grow as big as six inches across.
In the North, the daylilies bloom season last for many months, and you can plant them as soon as the soil unfreezes. May to November appears as the general bloom time for the South, but some varieties come as early as March. The peak of the season depends on the temperature; end of May in the Deep South, middle of July around the Great Lakes.
Sometimes, for convenience sake, daylilies come divided into two groups: deciduous and evergreen. The deciduous types lose their leaves with the coming of winter, in much the same way as perennials, but they come out again in the spring. As they contain the name evergreens, they look more important in Southern gardens, where you can expect year-round greenness. Once planted, daylilies grow on their own – so give them a good start. When planting daylilies in beds, work the soil to a depth of 15 inches, putting plenty of humus toward the bottom. Daylilies prefer a well-drained soil with lots of organic matter.
Any commercial humus will do, as will peat moss, crushed corn cobs, cottonseed hulls, etc. For individual plants, prepare a hole 15 inches deep and 20 across, filling the bottom with humus. Don’t plant too deep, the point where roots and stem join should be about an inch below ground level. Spread the roots.
Cut back to four or five inches tall for specimen planting, and water thoroughly. In fact, all daylilies like plenty of water from the time flower scapes begin to develop until blooms fade. Dryness will retard bud formation, leading to sickly blooms. Water from the bottom, sprinkling mars daylily flowers. Daylilies respond to mulching as well as any plant. Everything from peat moss to stable bedding has proved satisfactory.
The idea daylilies bear poor cut flowers makes an incorrect claim, contrary to what some people may believe. Placed in low containers – bowls or trays – they look indeed decorative. Cut flower buds in the afternoon or before the morning when they become due to open. The full-blooming flower Stella de oro daylily will last only a day, but extenders and nocturnals provide blooms for late evening. All in all, the daylily serves as the most dependable and satisfying plant.
The link below includes additional tips for selecting, planting, and caring for daylilies from Today’s Homeowner. Alos check out the official site of American hemerocallis society for educational and scientific info source.
Learn how to create a stunning pond with carefully planted bog plants and trimmed bullrushes, while also managing garden compromises and tackling goutweed infestation.
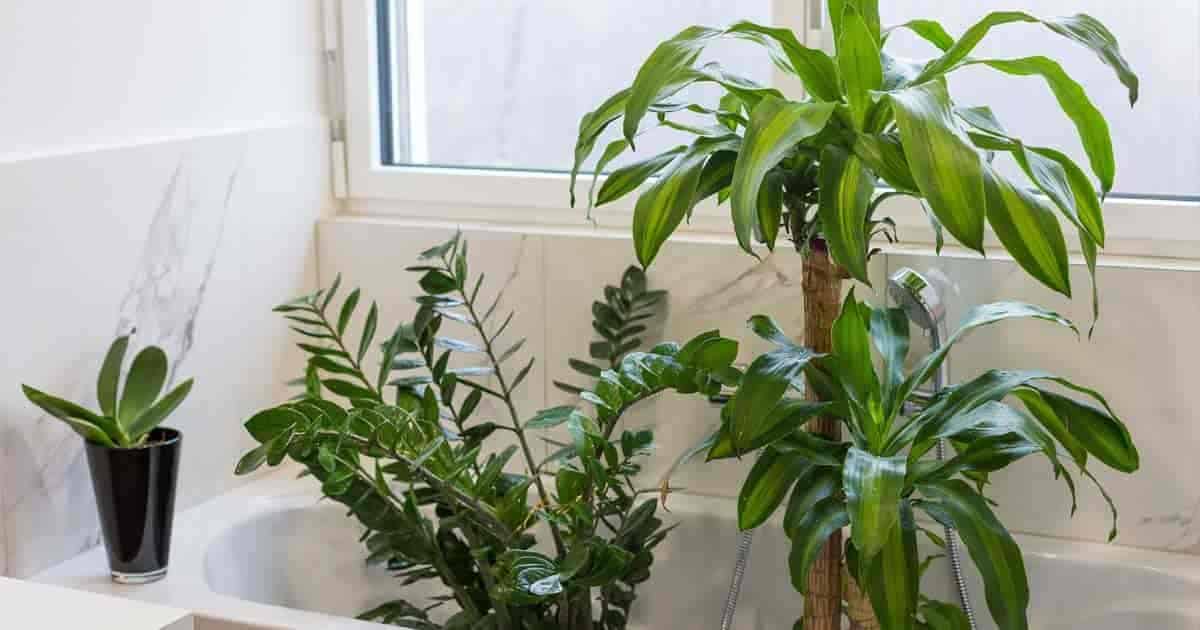
We discuss the merits of 17 best bathroom plants, some suitable for low light or dark bathrooms. Ideas for decoration and placement also.
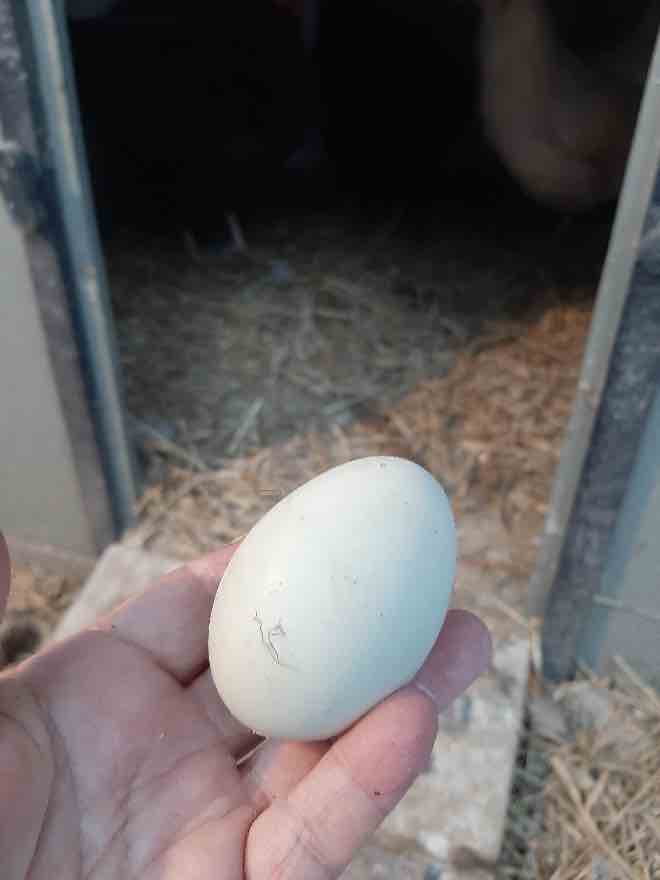
As I opened up their enclosure, I noticed something that made my day. An egg!! They had not laid any eggs since late November.
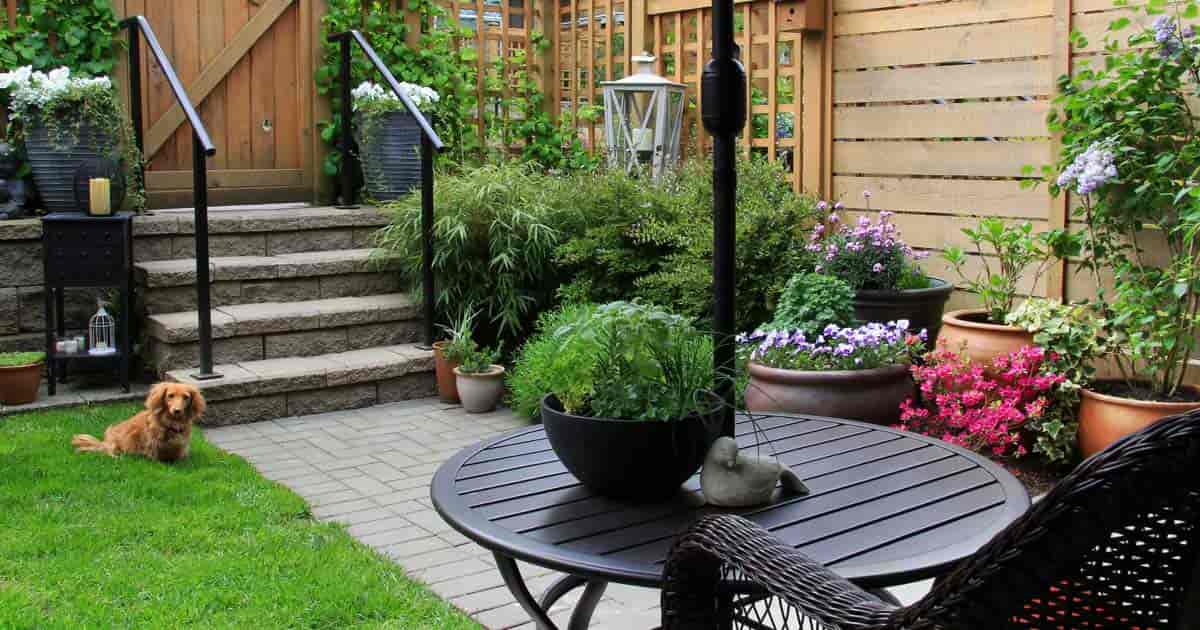
Discover how to optimize your small garden space with layers of plants and create stunning color combinations for year-round blooming.
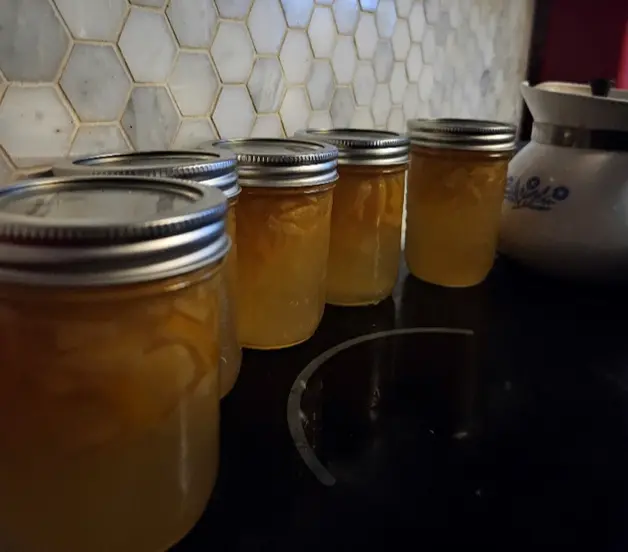
Experience the perfect blend of tangy lemons and subtle sweetness in Judith’s Meyer Lemon Marmalade recipe. Don’t miss out on this mouthwatering treat!
GardeningCalendar.ca gets some funding from advertisers. If you click on links and advertisements at no cost to you, the site may receive a small commission that helps fund its operation.
© 2025 J&S Calendars Ltd.

Leave a Reply
You must be logged in to post a comment.