Your cart is currently empty!
Five Easy Ways To Get Rid of Fungus in Mulch
Learn how to effectively treat and eliminate fungus in mulch with tips and techniques for a healthy garden ecosystem.
Your cart is currently empty!
Photo:
RuthildEicker at Pixabay
You’re likely familiar with the big, impressive blooms of the hydrangea. What you might not know, though, is how simple hydrangea care can be.
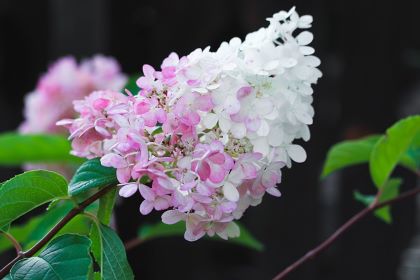
Hydrangeas are hardy fellas that don’t require a whole lot of fuss. They produce beautiful flowers that form various shapes from large globes to pointy cones. And not only do the shapes vary, but their colours can range from white to shades of pinks, blues and purples.

Botanical Name: Hydrangea, many varieties
En français: Hortensia
Sun / Shade:
Water: Needs regular watering, three times a week recommended.
Care:
Best of all, these blooms are not only magnificent, with some you can change their colour by changing the soil conditions.
There’s over 70 species of hydrangea, but the main types are:
Depending on the variety, mature hydrangeas can reach heights as tall as 15 ft and spread nearly as wide, or they can grow to no more than 3 ft.
Though the needs for each type will very slightly, in general there’s only a few basic requirements to caring for a hydrangea. In this easy guide for beginners, you’ll learn about hydrangea care so you can get started growing your own beautiful blooms.
Hydrangea care is fairly easy, especially when you have the right conditions. Hydrangeas like humidity and they like their soil to be moist. If planted in the ground, they’ll need a good, deep watering at least weekly.
However, if they are part of a container garden you’ll need to increase the frequency, to perhaps to even daily, depending on the weather conditions. Obviously, the higher the heat and sun, the more need for water.
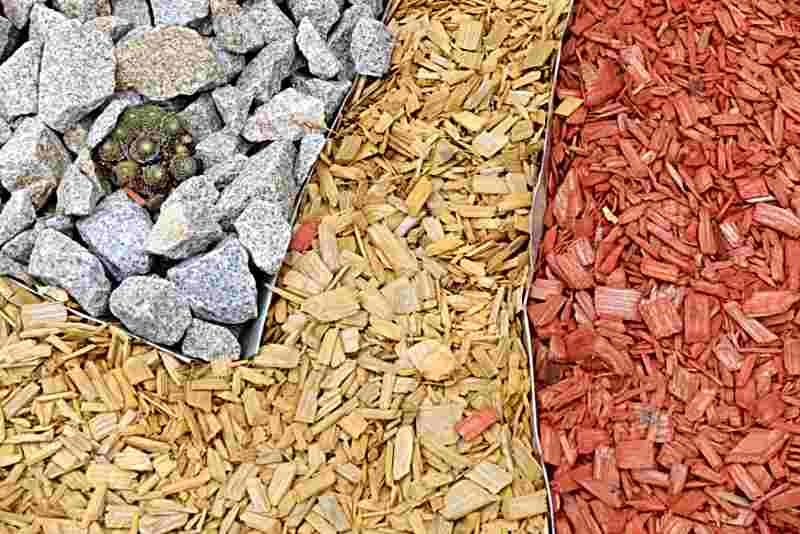
One way to help retain moisture is to add mulch around the base of the plant. Not only will this help retain water, it’ll keep the soil cooler and aid with weed prevention. As an added benefit, many people find mulch aesthetically pleasing.
Just as important as making sure your hydrangeas don’t dry out, you also want to ensure you’re not over-watering your plant. Hydrangeas like a moist soil, but they don’t like to be standing in water. Yellowing leaves and issues with the blooms can be signs of too much water.
Hydrangeas will grow in zones 3–9. Most varieties don’t like the sun, and prefer a milder temperature.
Depending on the species, some will tolerate a bit more shade, some a bit more sun. In general, a spot with morning sun and afternoon shade is your best bet, especially if you live a southern climate. In these hotter regions, the afternoon sun is too strong for your hydrangea.
The further north you are, the more your hydrangea will tolerate the sun, since the sun isn’t as hot.
Ideally, you’ll know which variety of hydrangea you have and that will help you determine the best spot for the plant. For example, panicle varieties are more sun tolerant, so they’re a good choice for a sunnier spot or warmer climate.
If you’re not sure of the variety, or have sun concerns, then stick with morning sun and afternoon shade.
You can plant your hydrangea in the spring, after the last frost, or in the fall. Dig a hole 2-3 times larger than the root ball, to give the roots plenty of room to spread. Above ground, make sure the space is wide enough to accommodate the plant’s width when full grown. Remember, some varieties can spread quite wide.
Hydrangeas will tolerate many soils, but they do best with a well drained soil rich in organic matter, such as compost, mulch or peat moss. These materials will help keep the soil moist, which a hydrangea likes.
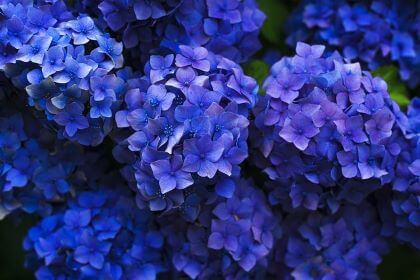
When it comes to blooms, people often want to know how to change their hydrangea’s colour, usually from pink to blue. Colour changing all comes down to the make-up of your soil.
If your soil has a high pH level (pH is a measure of the soil’s acidity) or there’s a lack of aluminum in the soil, then your flower will be pink. A lower pH and adequate aluminum, will turn the flower blue.
You can add aluminum to your soil to make the conditions more favorable for a blue flower. However, too much aluminum can harm your plant. So, before starting any soil treatment, test the soil to determine its current pH level.
One thing to keep in mind, white hydrangeas stay white, no matter what. And some soils are simply too alkaline—in other words, have too high a pH level—to change your flower’s colour, even with an aluminum additive.
Hydrangeas also make a great container plants. If your planting your hydrangea in a pot, as with an in-ground garden, good hydrangea care calls for well draining, rich container soil. And don’t forget to ensure you’re using a pot with good drainage.
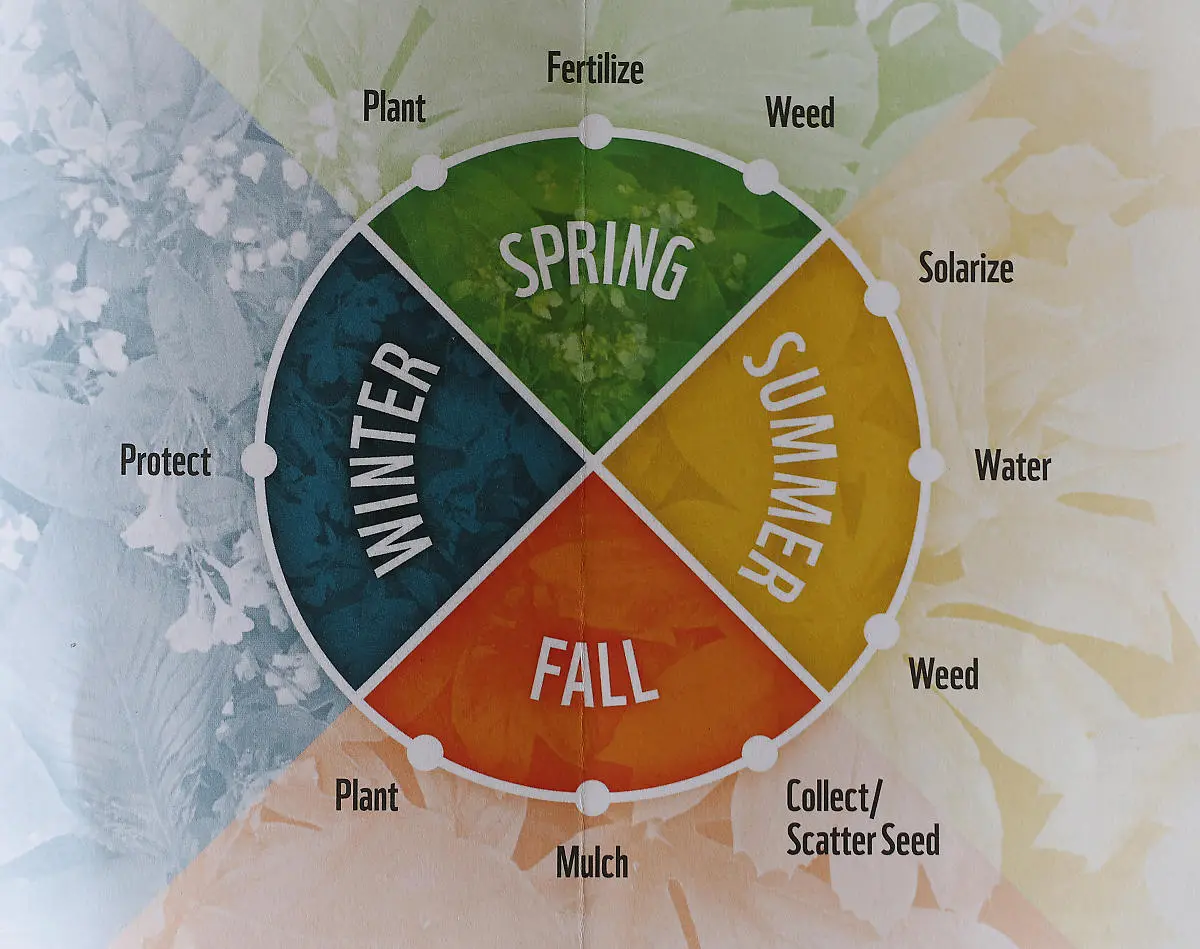
Fortunately, hydrangeas don’t require a lot of maintenance.
In the spring, once the plant shows signs of growth, you can start fertilizing your plant.
When it comes to fertilization, there are mainly two options. You can either work a balanced (meaning the numbers on the fertilizer are fairly even), slow release fertilizer into the soil, or you can use an immediate release fertilizer 2 – 3 times during the spring and summer.
As the names suggests, a slow release fertilizer means the soil is fertilized slowly, over time. An immediate release, starts fertilizing right away and lasts a much shorter period of time.
Fertilize during the spring and summer, but don’t fertilize in the fall as the plant will be heading into its dormant period. If your adding manure to your soil, you likely won’t need to fertilize as manure is usually strong in nutrients.
The pruning of your hydrangea will differ slightly depending on the type you have. However, regardless of the variety, in general you’ll want to remove any dead or spindly stems, and any spent flowers.
If you are pruning in the spring, make sure new buds are showing so you can see where new growth is starting. You want to cut back only to the last healthy bud.
If your hydrangea has gotten away from you and is overgrown, or in general is just looking unsightly, you can cut the stems down the ground in late winter or early spring. Keep in mind, it may take a season or two for the plant to fully bloom and the woody stems to strengthen.
Again, it’s good to know your variety of hydrangea as some varieties prefer to be cut back further, or should be pruned at different times of the year.
There are primarily two ways to propagate your hydrangea. Taking a cutting from the parent plant, or ground layering.
The easiest is taking a cutting from a branch of the parent plant, about 4 – 6” long. Strip the bottom couple of leaves from the branch, as this is where the roots will form. At this point, if you want, you can dip the cutting into a rooting hormone. You can find rooting hormones at your local garden center.
Once this is done, place the cutting into a your potting soil, which should be in a pot with drainage holes. Water well and allow it to drain, then cover the plant and pot with plastic. In a few weeks, you should see roots growing. Once the roots are established, you can transplant your hydrangea to your garden.
To ground layer your hydrangea, you’ll choose a branch close to the ground. You’ll be gently bending this branch toward the ground, without breaking it or removing it from the parent plant. As with a cutting, you’ll remove the lower leaves at the spot where the branch will touch the ground.
Next, scrape away a little bark on the underside of the part of the branch that’s near the ground. Dig a small trench and gently lower the branch into it. Cover the area with lots of soil and place a weight, such as a stone, on the area so the branch stays underground.
Keep the area watered, and once the roots form, you can cut the branch from the mother plant and put it into a pot or in your garden.
Always remember: whenever cutting a branch, use a clean, sharp instrument, such as a hand pruner. If you’d like a little more information on propagating your hydrangea, then check out this article from the University of Illinois extension office.
Fortunately, hydrangeas are fairly resistant to pests and generally not affected by serious disease. Another reason hydrangea care is simple.
However, that’s not to say an occasional problem will never crop up.
Keep an eye out for the usual pest culprits, such aphids or mites. As for diseases, watch for signs of bud blight, wilt, leaf spot or powdery mildew. Anytime you have a concern about your hydrangea, go to your local garden center to discuss the problem so it can be addressed immediately.
As you can see, caring for your hydrangea is not a complicated process. These easy care plants make a wonderful addition to any garden or landscape. And don’t limit yourself to only enjoying their fabulous blooms from your yard’s view. Amazing live or dried arrangements can be fashioned from a hydrangea’s cut flowers.
Learn how to effectively treat and eliminate fungus in mulch with tips and techniques for a healthy garden ecosystem.
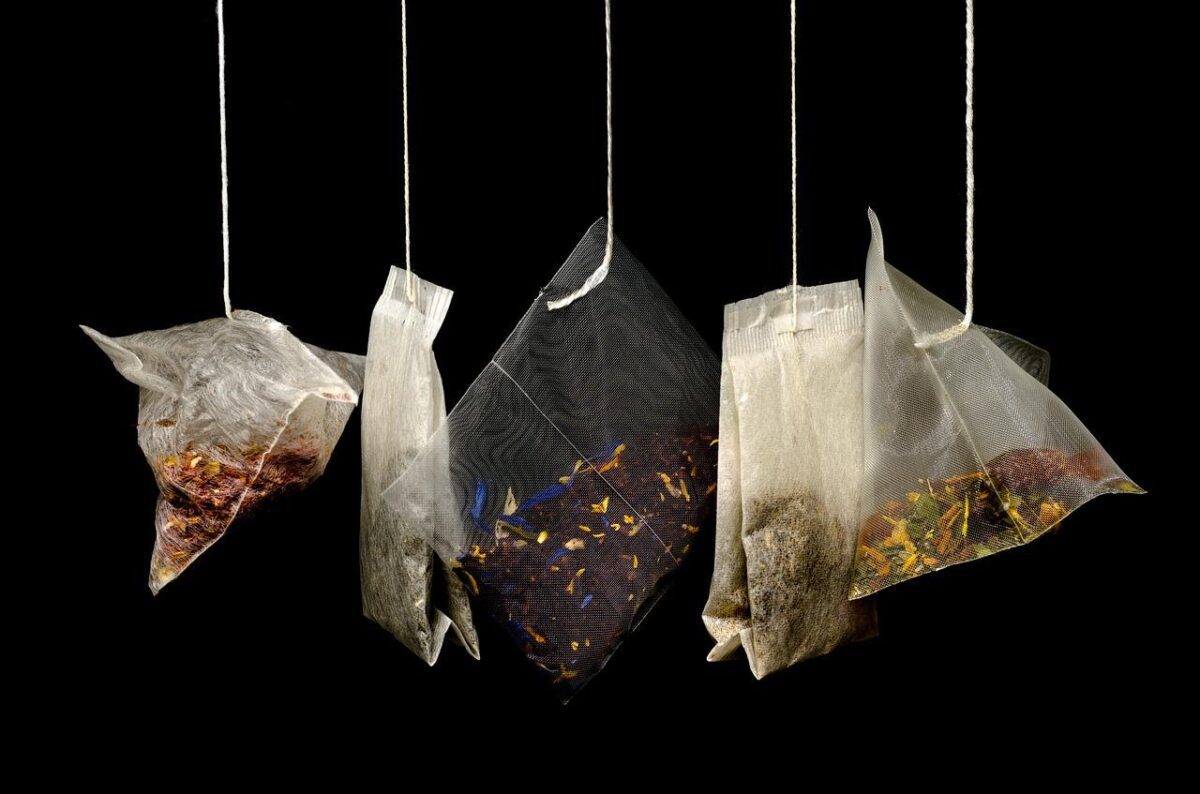
Discover 8 steps to harvesting and drying herbs so you can enjoy your favourite flavors year-round. Learn the right time to harvest them, as well as the best way to store them!
How do you turn your passion for landscape photography into a job? A step-by-step guide on how to make money capturing the beauty of gardens in Toronto. Where to find a job as a landscape photographer?
Discover the importance of planting native plants for attracting and supporting wildlife. Find resources to choose the right plants and learn essential gardening techniques for success.
Discover how artificial light affects migratory birds, nocturnal animals, and wildlife in your garden, and learn how to create a safe refuge with darkness.
Just as I prepare to stay warm this winter, I also need to prepare the garden for the upcoming winter season. Prepare plants, winter compost.
GardeningCalendar.ca gets some funding from advertisers. If you click on links and advertisements at no cost to you, the site may receive a small commission that helps fund its operation.
© 2025 J&S Calendars Ltd.


Leave a Reply
You must be logged in to post a comment.