Your cart is currently empty!
This page will describe our experience gathering and raising Eastern Redbud. In 2022, I successfully grew two Eastern Redbud trees from seed, but I did not document the procedure. I vaguely recall sowing a few dozen seeds, which sprouted into two seedlings. That does not appear to be a high percentage. Now, I am re-doing the procedure with better documentation to see what results may be reached.
Of note, I will append to this document the various steps as progress is made. So, if you want the full journey, please bookmark this page and check periodically for additions.
You are also invited to comment.
Brief Introduction to the Eastern Redbud
Eastern Redbud is a stunning deciduous tree and spring bloomer with beautiful pink to purple blooms held tightly on bare branches in early spring. With lightly coarse, heart-shaped leaves, it rivals any small ornamental tree for specimen use in the home landscape.
Eastern Redbud produces rose pea-like blooms along its branches from early to mid spring, which emerge from characteristic fuchsia flower buds before the leaves. It features forest green deciduous foliage that turns burgundy in spring. The heart-shaped leaves turn buttery yellow in autumn.
This tree requires little maintenance and should only be clipped after flowering to avoid destroying any of the current season’s blossoms.
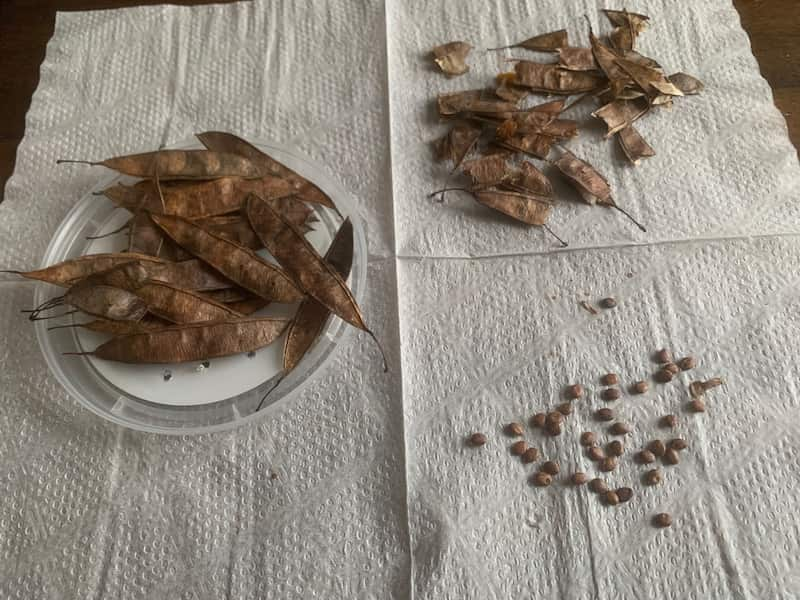
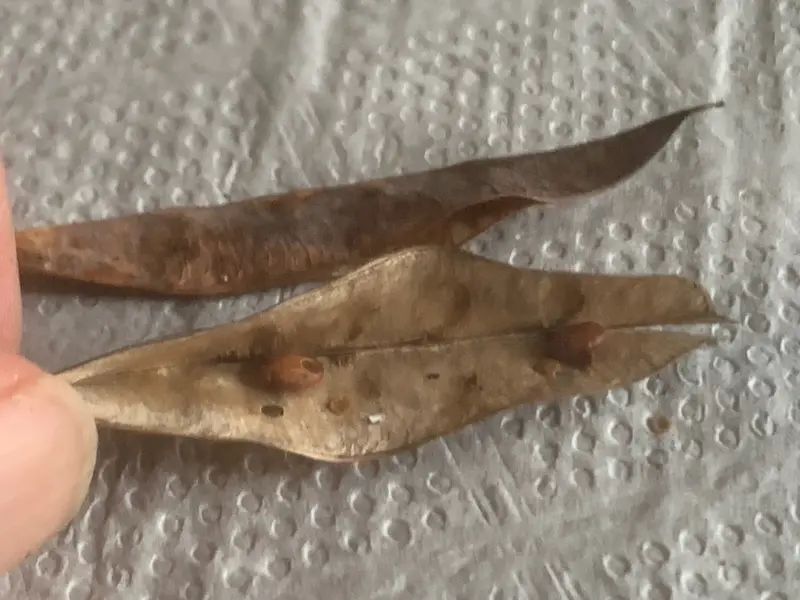
Step 1: Extracting Seeds from the Redbud Seed Pods
We gathered Eastern Redbud seed pods from a healthy, local tree. Based on anecdotal evidence and some research documentation, I accept as true that seeds from local trees represent the best bet for survival because the ‘mother-tree’ – if you will allow the term – has clearly successfully adapted to the local weather and other conditions, and this will be reflected in the genetic makeup of its seeds, increasing their chances of survival and prosperity.
According to documentation, Eastern Redbud seeds can have a very long shelf life. If stored properly, seeds can last in a dormant state for a number of years. This is because the seeds have tough, impermeable seed coverings that protect latent embryos. Before redbud seeds germinate, their seed coats must be ruptured and dormancy overcome. This can apparently be done in one of two ways:
- By subjecting the seeds to 4C to 7C (About 40F) temperatures for 6 to 8 weeks; you can do so outside in the fall or in your fridge indoors, or
- By immersing the seeds in boiling water for a minute. Others have suggested subsequently leaving the seeds in water for 24 hours.
Nothing Happened, Just Like It Was Supposed To.
When people plant seeds, they expect and hope that they will grow. In June, I planted a different batch of twenty-four Eastern Redbud seeds in a tray. It is now the end of August, and not one seed has germinated.
With the information in the previous section, that is exactly what was supposed to happen: nothing! The Eastern Redbud impermeable seed cover has not broken down.
My experiment continues. I will leave this tray as is until autumn temperatures set in. After 6 to 8 weeks of 4C to 7C (about 40F), I will expect to see some sign of life with the appearance of new seedlings.
Step 2: Preparing this New Batch of Seeds
In the end, I had extracted about 50 or 60 seeds from the pods. I placed them in a regular tea cup, boiled water in a kettle, and filled the cup. The first thing I noticed is that a third of the seeds floated and the others sank to the bottom of the cup. I presume, with no evidence, that the floating seeds were somehow compromised because to float, they weren’t as dense, and may have taken in air somehow.
This is where I decided to run a little experiment. after waiting a bit more than a minute, I removed abot half the seeds, bith floatin seeds and theseeds at the bottom of the cup, and placed them on a paper towel.
The other half of the seeds, the ones still in the water in the cup, I left for 24 hours. I poured the water out of the cup the next day.
So now, I have two groups of seeds. One group which was place in boiling water for a bit over a minute, and another that, from boiling water, were soaked for about 24 hours.
To recall, the end goal here is to comprise the hardness of outer shell permittingthe sees to germinate.
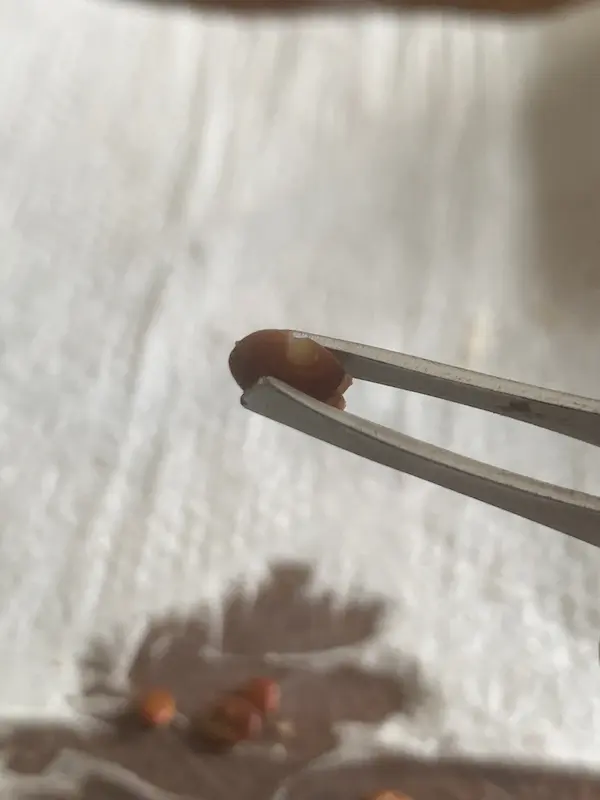
Seeds that were in boiling water for a minute
After a day of drying, I took tweezers to perforate the outer shell. It wasn’t difficult. The seeds dried in the 24 hours following their removal from the boiling water. I only wanted to scratch them or nick the ends of them. It appeared to be a simple task, as the seed shells were somewhat brittle and easily cracked.
Seeds that were in boiling water and soaked for a day
These seeds were very pliable. They seemed to have the consistency of little balls of mozzorella cheese, easily squeezable. Using tweezers to remove a piece of outshell was so simple that I began to wonder if the operation was causing harm to the internal embryo.
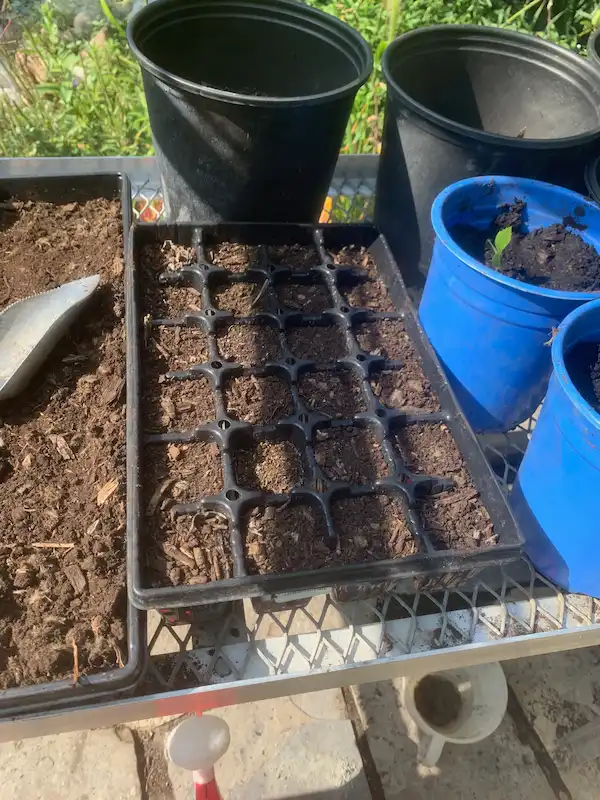
Step 3: Sowing the Treated Eastern Redbud Seeds
Mother Nature does not plant seeds in neat rows or at a regular depth. Rather, she distributes them randomly. She may have birds consume them and deposit them far away from the mother tree. And after the seed is on the ground, Mother Nature may cover it with leaves, dust, pollen, or any number of other things. I bring this up because when I sow seeds, I like to imagine that I’m acting like Mother Nature. I tend to spread them at random, betting that some will terminate and take while others will not.
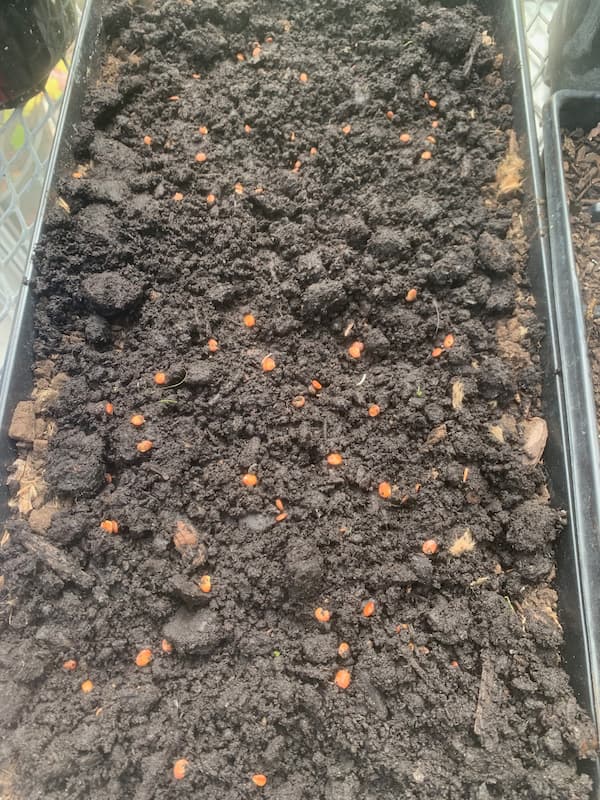
After dispersing the seeds in the soil tray, I added a thin layer of earth on top, just enough to cover all of the seeds. Confirming the image comment, the seeds that were soaking for 24 hours are at the bottom, whereas the seeds that were merely in boiling water for a minute are at the top.
Next Step
It’s been about a week since I seeded the aforementioned seeds, and three little sprouts have formed in the tray. They all have a similar double leaf structure, so I’m guessing they’re Eastern Redbud seedlings, but I’ll give it some time and report back in a week or two.
More to come…
About the Author
Share with Family and Friends
Featured Authors
Visit a Botanical Garden For Unique Experiences.
Comments
Logging in to comment gives you more features, but it is not required.
Subscribe
0 Comments
Oldest
More on Gardening Calendar

A Quick Guide to Composting
Quickly learn everything you need to know about composting for your garden, including materials to use, methods and benefits. Easily reduce your environmental footprint and save money on large bags of compost from gardening stores with this user-friendly guide.
Watering Orchids by Sitting them in Water
Join me on my recovery journey and discover how orchids bloom in water. Get tips on taking back your garden and prioritizing tasks. Enjoy gardening and stay connected with Veggie Bites!
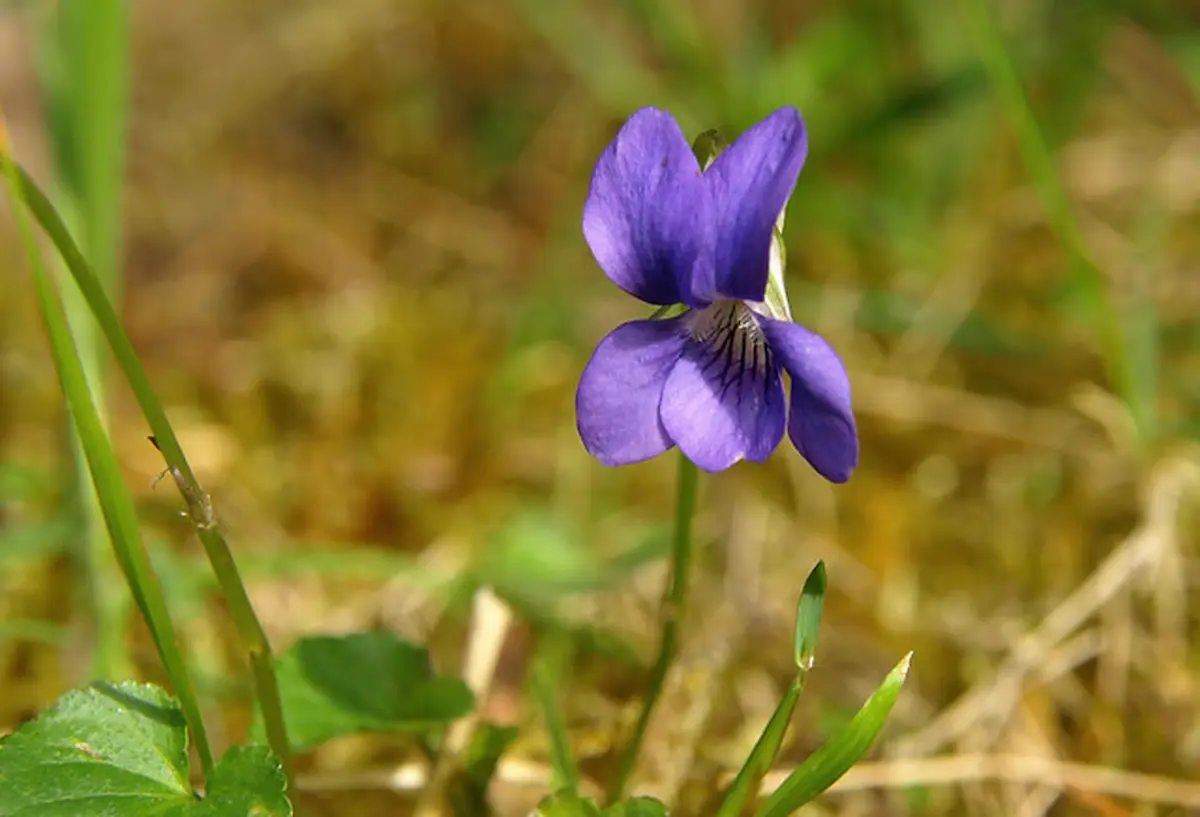
Dog Violet
Dog Violet can be used as a ground cover. It grows well in native plant gardens, shade gardens, or in shady areas of rock gardens.
2018 Garden Trends: Containers, Privacy, Pollinators
Discover the big ideas on the 2018 gardening stage that are influencing plants breeders and designers. Learn about the rise in container gardening, plants for privacy and defensive planting, and the various dwarf varieties. Explore the big trends for 2018!
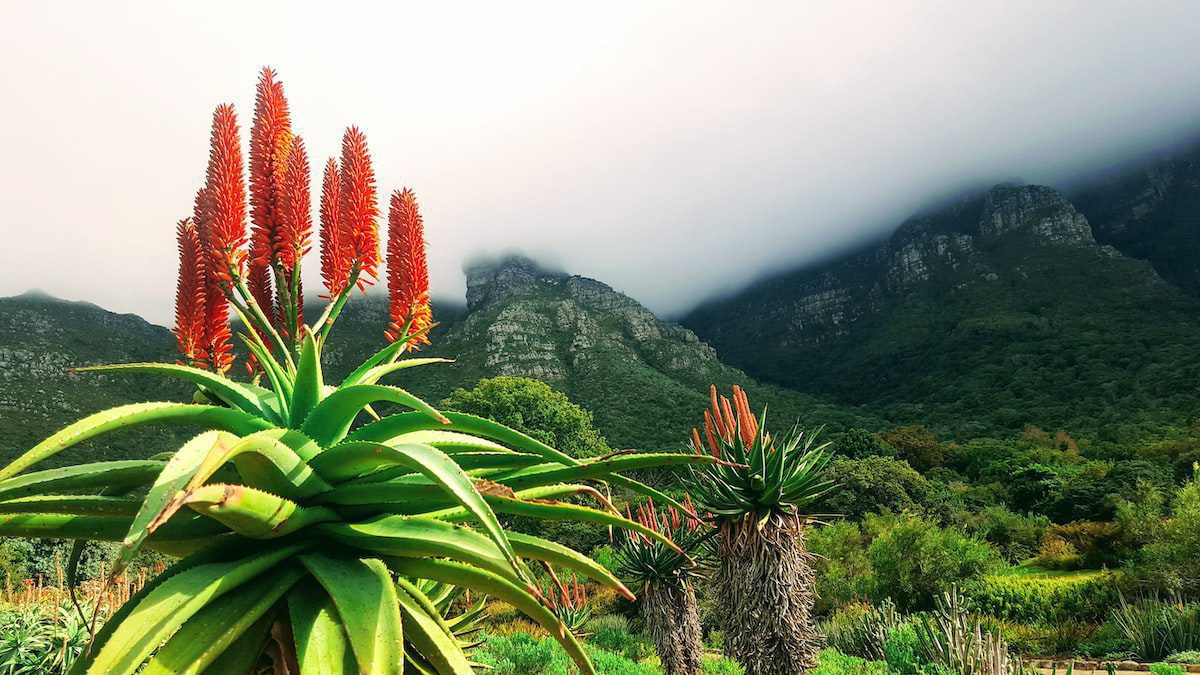
Do Aloe Plants Flower?
Aloe are simple-to-grow succulents in full sun, well-drained soil, and frequent watering. They tolerate a range of minor neglect. Read on.
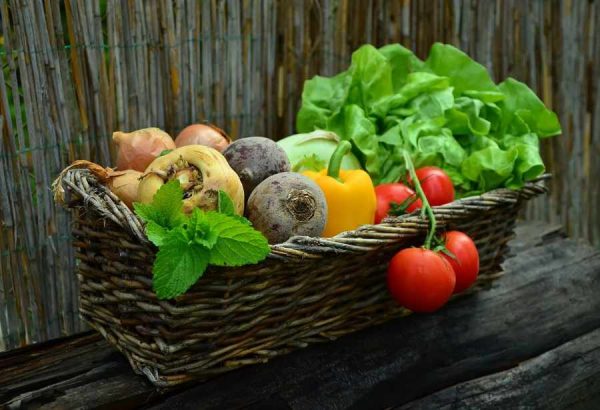
Building a Home Vegetable Garden
An urban vegetable garden is becoming more popular, and with the right space and the right materials, it is easy to start your own.
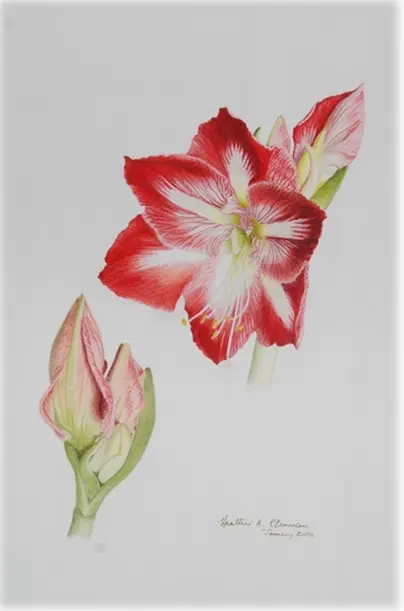
Botanical Art
Discover the rich history and significance of botanical art in capturing plant specimens with accurate drawings. Engage with botanical art enthusiasts and artists.
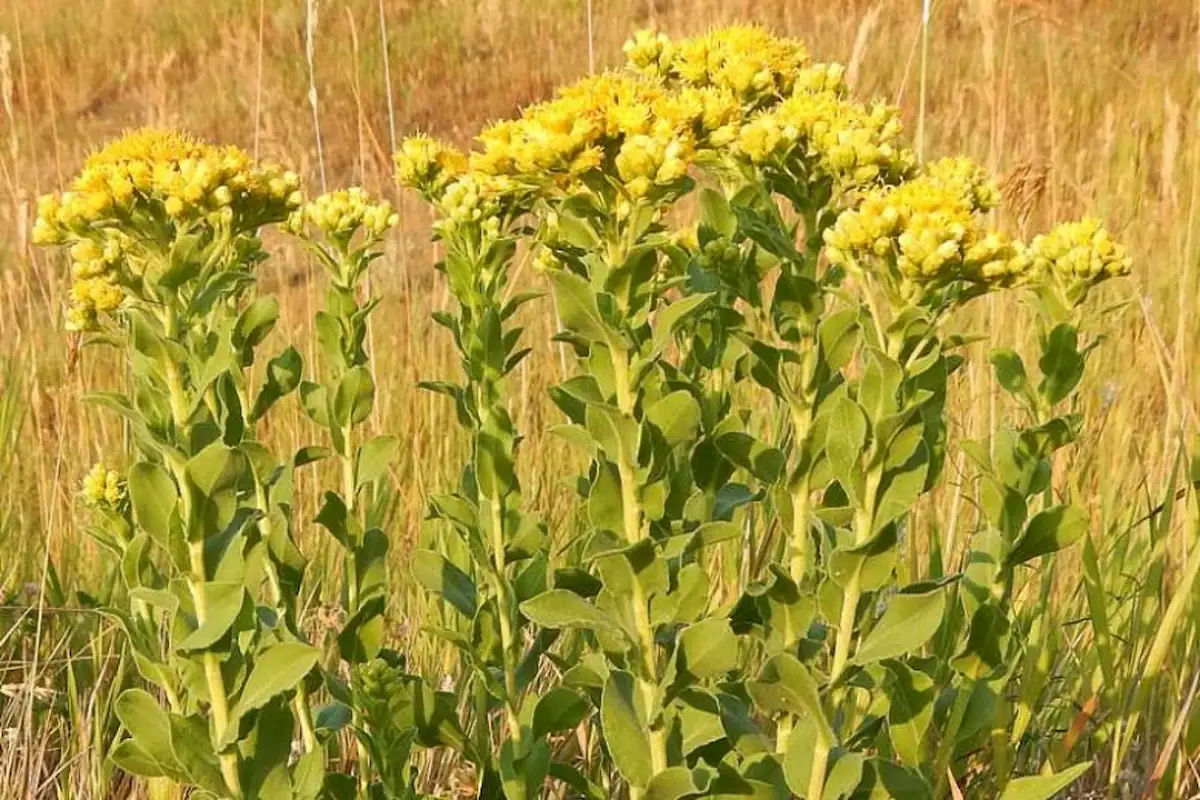
Stiff Goldenrod
Plant Stiff Goldenrod for a vibrant fall display in prairie gardens, cottage gardens and pollinator gardens. This multi-functional flowering plant is easy to grow and its leaves in fall change to lovely colors of red. Learn more about this impressive species.
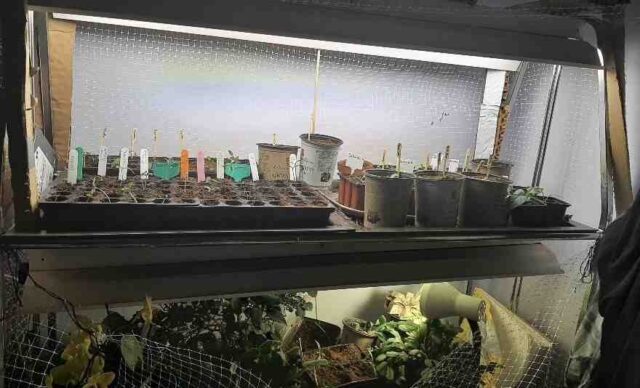
Veggie Bites – Seedlings
I have been monitoring my little seedlings and decided it was time to transplant several of them into larger pots.
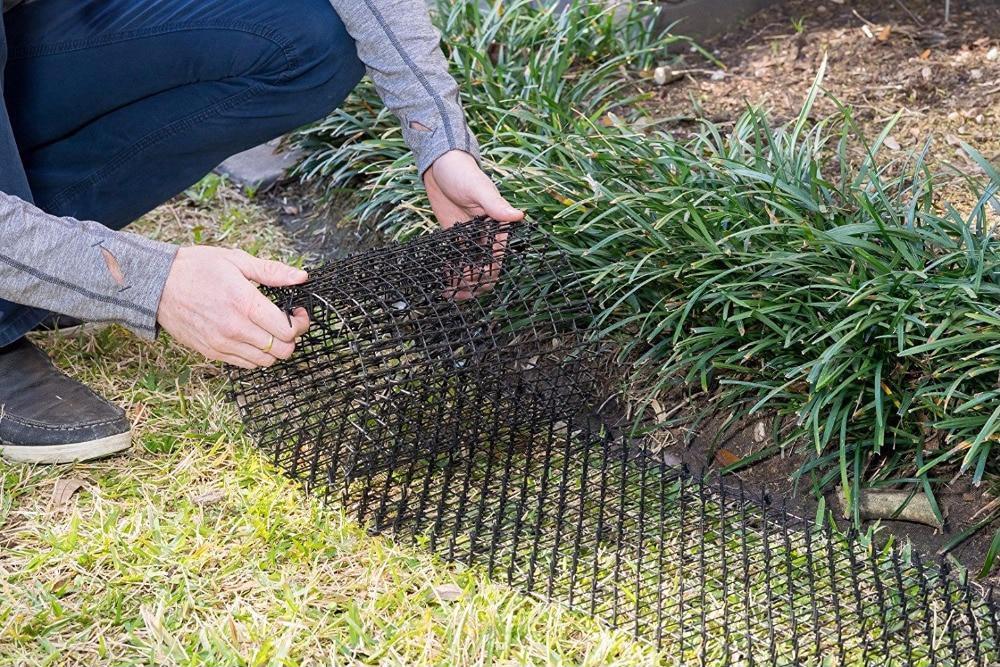
Spike Mats Solution To Plants Being Dug Up
It is time to clear up the mess left by chipmunks and salvage my garden. Join me as I describe my battle with nature, some tips for keeping chipmunks away, and prepare for the colourful blooms of peonies in this article.
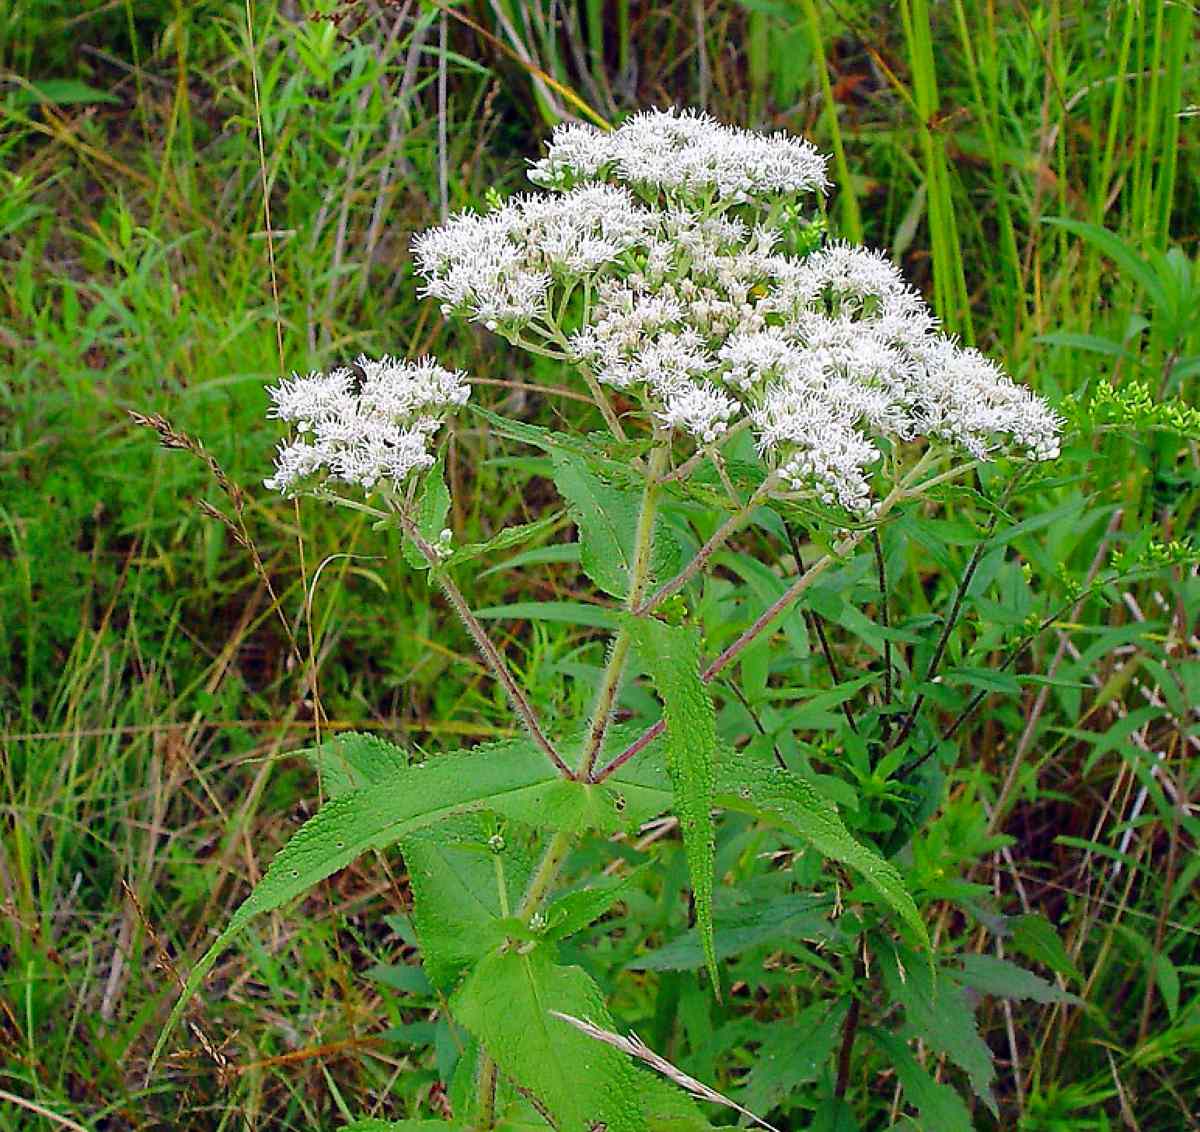
Flat-Topped Aster
The flat-topped aster attracts a range of pollinators, many bees, wasps, beetles, flies, and butterflies. We present a quick growing guide.
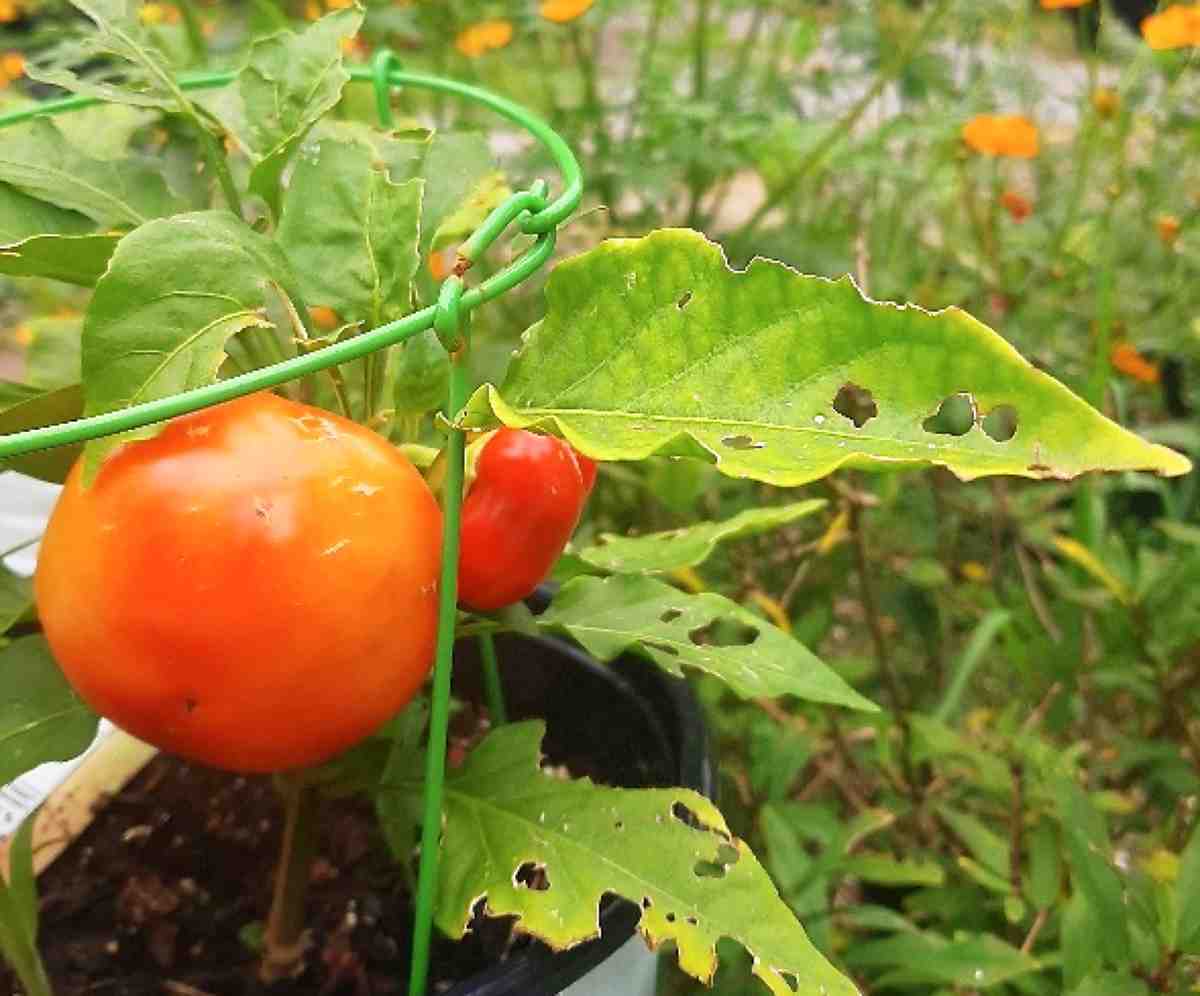
A Great Year for Growing Peppers
I am going to try to save the seeds from which to grow peppers. Probably best to buy more seeds, collect seeds as well and do a comparison.