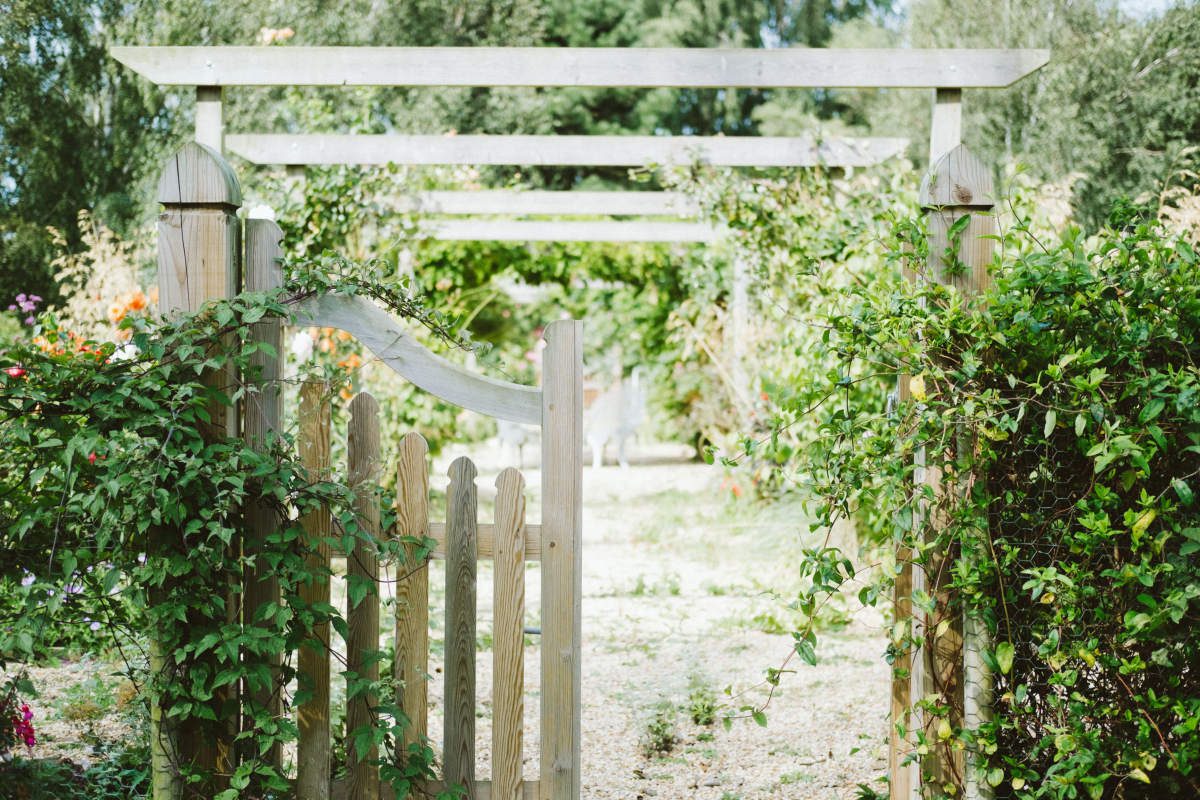
Make a Mini Formal Garden
Miniature gardens are adapted from Japanese bonsai gardens, taking the idea of shaping and caring for a miniature tree for relaxation and creating a new way of gardening. Because they are miniature, the idea is to welcome fairies and small creatures to enjoy them, just as you enjoy your garden.
Your new mini garden will do better in an area protected from the elements. When thinking about where to create or place your Mini Formal Garden, think about the environmental factors like wind and rain that can ruin the garden. When Laura is done, she will place it on her covered porch where it will be protected!
Before we begin, there are a few things to note:
- There is no drainage in this miniature garden, so water lightly and only when the plants need it. Laura suggests using a syringe to get the right amount of water exactly where it’s needed.
- This is a seasonal project, so before winter comes find a new home for the plants, either in a greenhouse or indoors, in order to preserve them.
- There is a longer version of this video if you are interested.
Materials Used:
- Container- custom made locally
- Espoma Organic Potting Mix – https://amzn.to/2TXe7u5
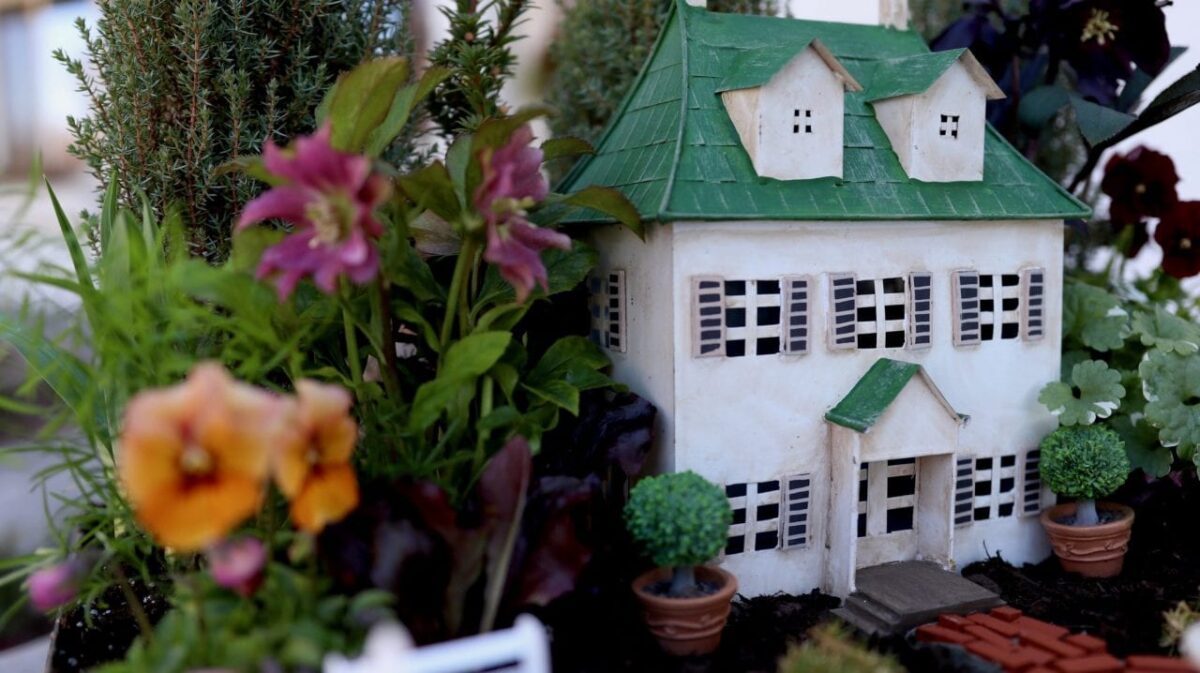
- Miniature Pieces: Colonial Home – https://bit.ly/2TkiA5t
- Bag of Bricks – https://bit.ly/2WcTmYL
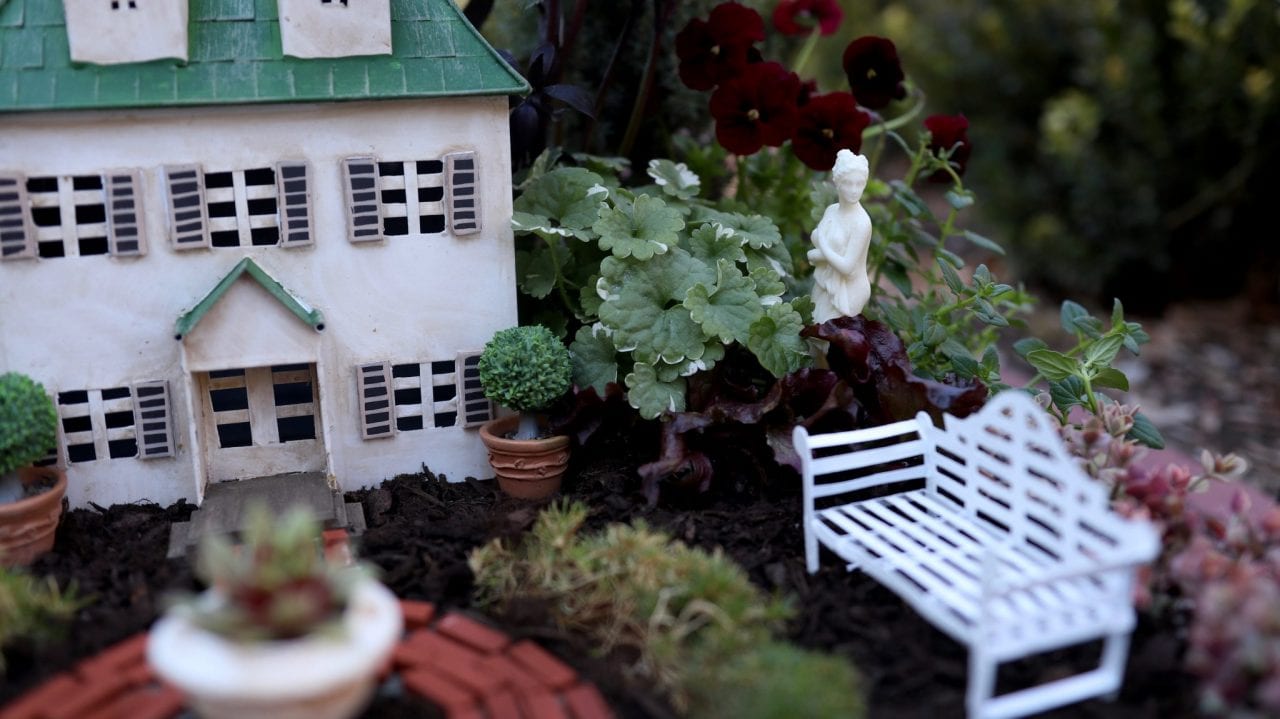
- White Benches – from Jeremie Corp, can’t find a link!
- Planted Evergreen – from myfairygardens.com, but it looks like they are no longer available on their site!
- Urn – from Jeremie Corp, can’t find a link!
- Venus Statue – https://bit.ly/2FfCDgr
- Estate Gate – https://bit.ly/2U0eN1E
- Rusty Metal Scroll Fence – https://bit.ly/2OhmgnQ
Plants Laura Used:
- Common Juniper
- English Yew
- Helleborus ‘Vavavoom Pink’
- Daylily
- Asparagus Fern
- Pansy ‘Nature Mulberry Shades’
- Helleborus Winter Jewels ‘Red Sapphire’
- Viola ‘Penny Red with Blotch’
- Creeping Charlie
- Gourmet Salad Mix
- Irish Moss
- Sedum ‘Firecracker’
How to Create a Mini Formal Garden:
- Line a container, box or old suitcase with heavy plastic in order to preserve it and keep the soil in one place.
- Fill with Espoma’s Organic Potting Mix and trim the excess plastic from the container to make it look clean and precise.
- Add plants. Remember to work from back to front adding height and texture to the miniature landscape. Use plants that will stay small, so they don’t outgrow your garden.
- Create a pathway. Cut photo paper to make a guide where you want the road to go. Mix water with shapecrete and pour between the photo paper. Let dry 30 minutes before removing the paper. It’ll continue to cure for 24 hours.
- Now is the time to set the formal scene and add in your elements. The little succulent hedge and gates are out favorite!
- Enjoy your new Mini Formal garden!
Comments

More From Gardening Calendar

Harvest Tasty Fall Vegetables
Fall is a great time to harvest vegetables. Here are popular fall vegetables that can be harvested up until the first frost.
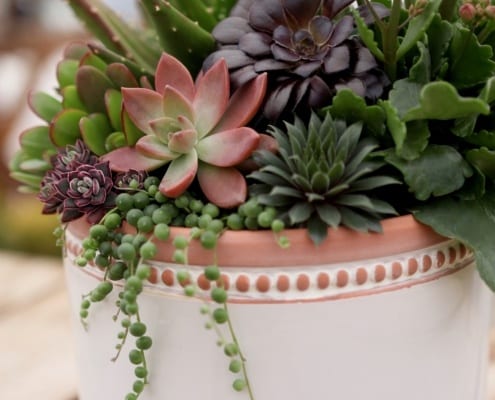
Get Inspired to Create a Next Level Succulent Arrangement
Create your own stunning succulent arrangements with this DIY video from Garden Answer! Enjoy indoors & out w/ plenty of textures, colors, & heights to choose from. Easy to take care of – just follow the tips & you’ll have a beautiful flower show year round.
Gardening in the Month of September
Get ready for winter in your Ottawa garden! Pruning, fertilizing, watering, and planting are the tasks of the day. Plant spring bulbs, fall-flowering annuals, and divide perennials to add color until October. Don't forget to dig and store dahlias, cannas and more. Time to get pruning!
6 Plants to Grow For Sleep, Anxiety, Calmness
Having anxiety from time to time, trouble sleeping or the need for calmness is natural. We identify plants which help with anxiety and sleep.
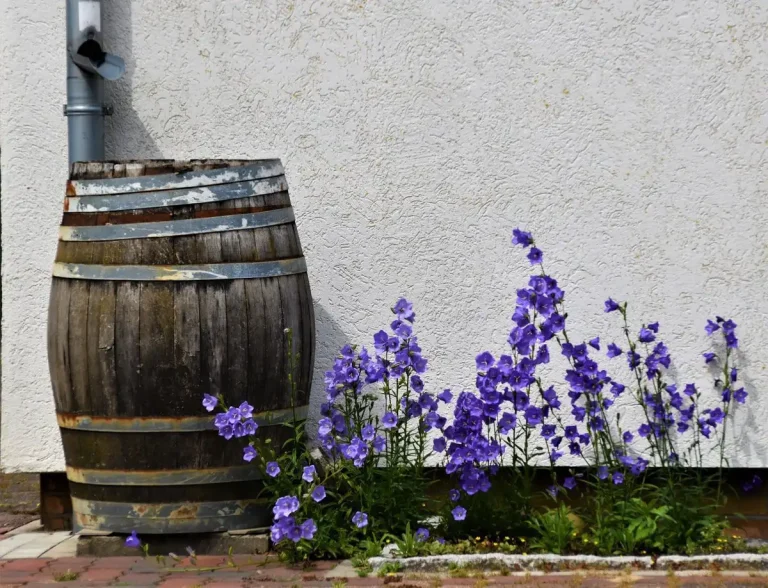
Rain Barrel Tips
Rain barrels are a great way to collect water to use on your lawn and garden. Here are tips on how to save on your water bill.
Leave a Reply
You must be logged in to post a comment.