3 Common Seed Starting Problems and How to Fix Them
Starting seeds indoors is a great way to make your garden successful from the start. Nurturing and watching seedlings grow from nothing into a fully grown plant can be incredibly rewarding. Gardeners have asked how to be more successful with starting their own seeds, and the problems usually boil down to simple, common mistakes. Here are the three most common mistakes and how to fix them.
Also, consider a layered bulb container.
Not Enough Light
A common rookie mistake in starting seeds is not giving their seeds enough light. New seeds need a lot of light to get growing. You can start with a south-facing window, but if it doesn’t get 6+ hours a day, it probably won’t do.
Solution: artificial lights.
Using grow lights, found at your local garden center, can provide the ample amount of light your seedlings need. Hang lights from chains, so you can lower and raise them as they grow. Keep lights about 2–3 inches above the seedlings.
Too Much or Not Enough Water
This is the most challenging part about starting seeds. Seedlings are incredibly delicate and need to be watered just right. Keep the potting mix moist, but not wet.
Solution: Check seedlings regularly.
First, cover your seed-starting container with plastic until the seeds germinate. This will trap any moisture in and help keep the soil moist. Use a misting spray bottle until seedlings appear to avoid overwatering. Once your seedlings are established, water from the bottom. Your container should have drainage holes, so let your plants soak up the water from the holes to minimize the risk of overwatering. Lastly, check your plants every day.
Starting Too Soon
Many beginners try to start seeds as soon as they buy them, instead of when the package advises. We all get a little excited to have green plants growing again, but if started too soon, they can die off from the cold.
Solution: Find out when your expected last frost is.
Seeds should usually be started four to six weeks before your last frost date. This will ensure that by the time your seedlings are ready to be transplanted, your soil will have started to warm up. You may need to place your seedlings outside during the day and bring them in at night for a few days to get them acclimated to the outside temperatures.
In a few short weeks you’ll be ready to transplant!
Comments

More From Gardening Calendar

Burro’s Tail Plant – How To Grow and Propagate
Burro’s tail plant is an eye-catching, high-impact, low-maintenance plant that works well in both indoor and outdoor hanging pots.
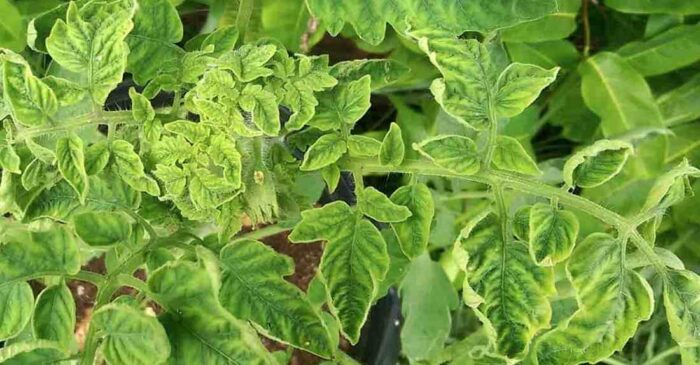
Tomato Leaf Curl: Virus, Causes & Remedies For Tomato Leaves Curling
Learn how to identify and treat Tomato Leaf Virus with home remedies and preventive measures to protect your tomatoes and other plants with Plant Care Today! Learn how to identify and safely treat Tomato Leaf Virus with home remedies and preventive measures to protect your tomatoes and other plants with Plant Care Today! Read how to detect, prevent, and treat tomato leaf virus to avoid plant die-off caused by leaf curling, flower/fruit drop and many more symptoms.
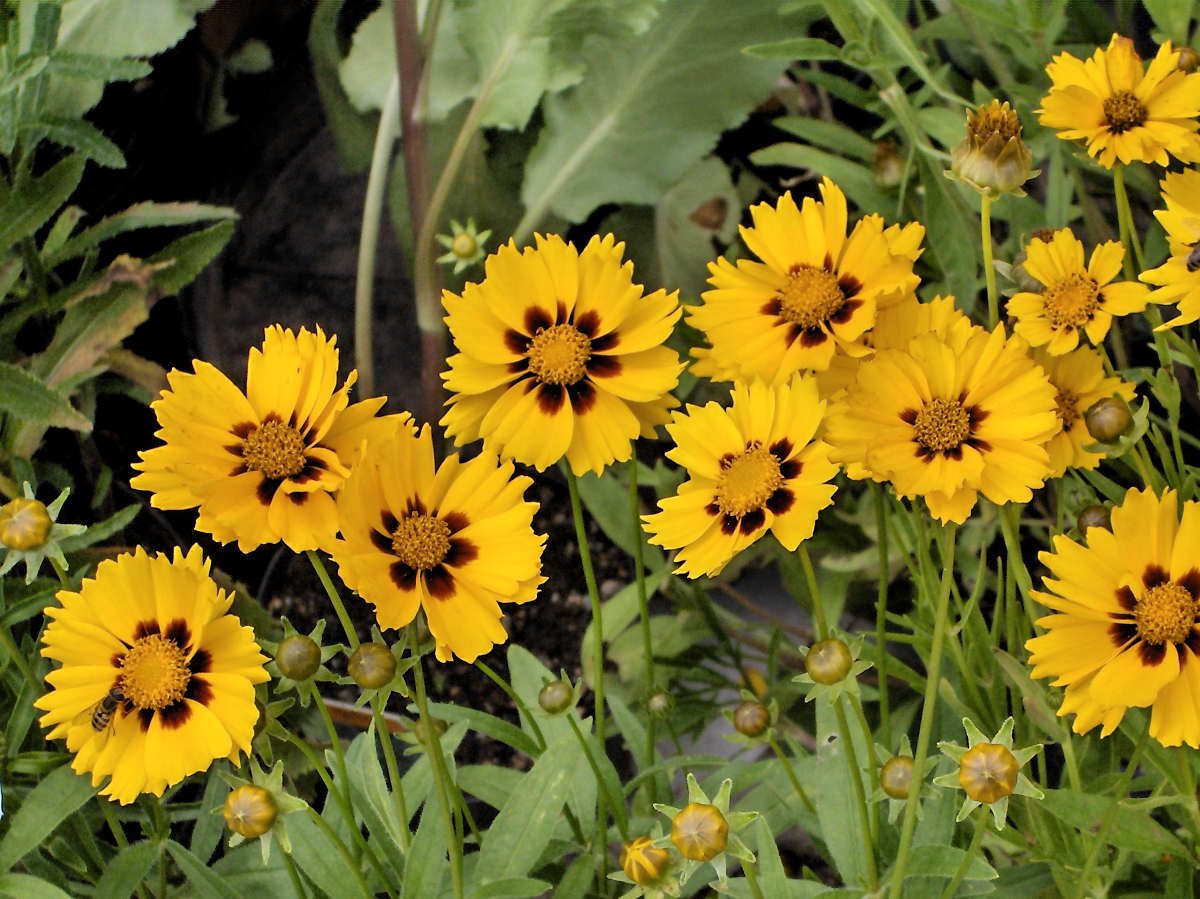
Lanceleaf Tickseed Coreopsis
Lanceleaf Tickseed is ideal for the garden, outdoor containers, featuring bright yellow blooms that grow quickly in a sunny, dry setting.
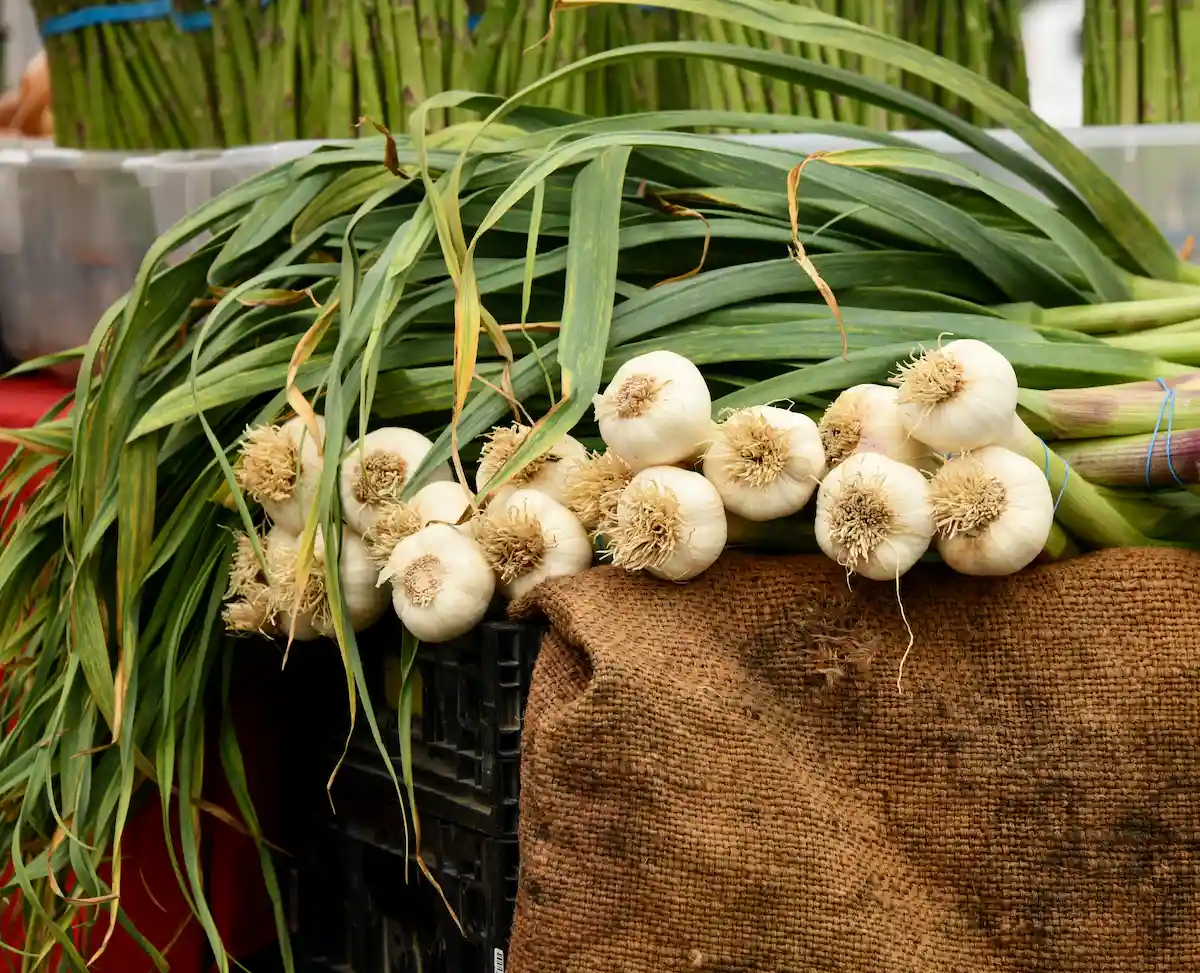
When is My Garlic Ready to harvest?
Discover the best time to harvest garlic, from shoots to scapes, and learn how to maximize bulb size and flavor. Find expert tips from Master Gardener Dale Odorizzi.
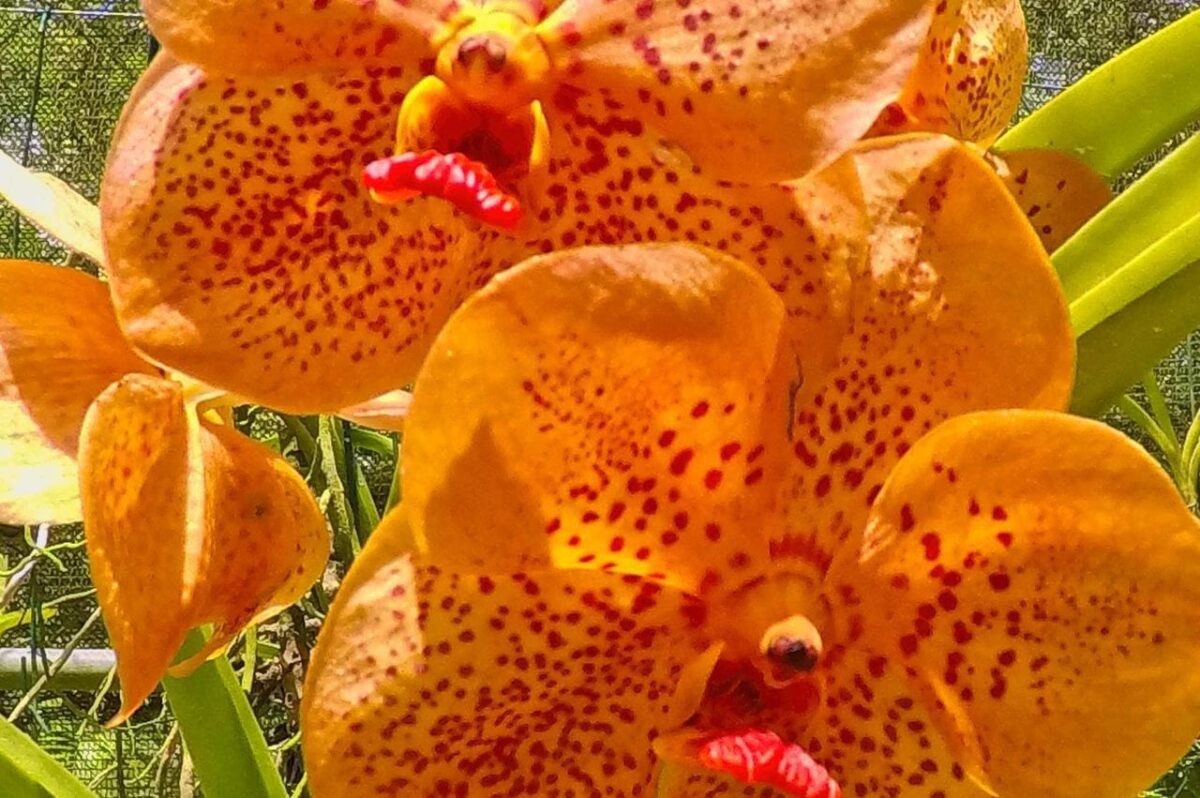
Orchid Care Is About Recreating Habitats
Basic orchid care attempts to recreate the habitat in which a certain variety of orchid developed. We discuss how to care for orchids.
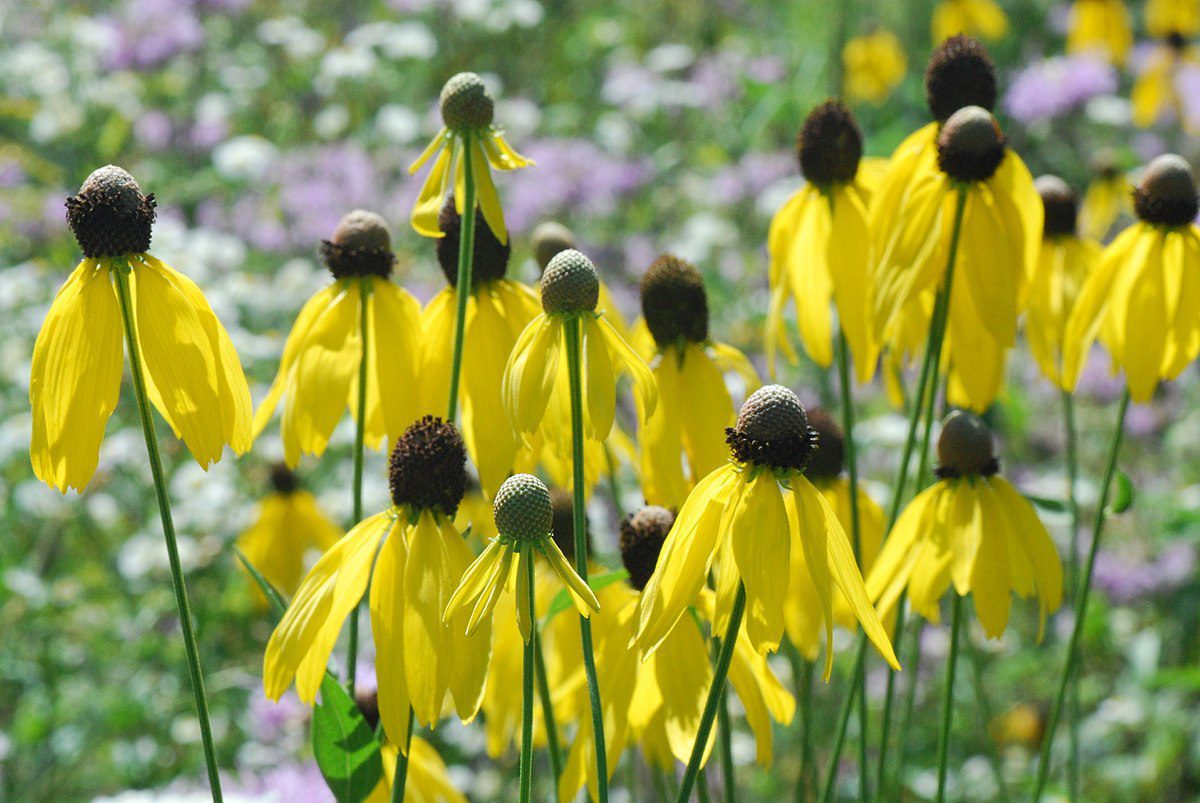
Grey Headed Coneflower
Grey headed Coneflower has eye-catching yellow flowers that entice birds and pollinators. It is ideal for natural plantings and meadows.
Leave a Reply
You must be logged in to post a comment.