Planning
Choose Plants
Plants native to your region are the best options for attracting and supporting wildlife. Visit the links on our resources page inthezonegardens.ca/ about-us to find books, webpages and apps that will help you choose plants. If in doubt, experiment! You’ll learn a lotby trying out different plants in your garden.
Find Plants
There a number of sites which let you quickly search and browse through plants based on criteria.
As one example, visit https://gardeningcalendar.ca/plant/ Our site started with only native plants to our zone 5 area, but has expanded to include other plants which prosper in our area.
Many nurseries have plant knwledgebases. Here is the link the plant knowledge base at Ritchie Feed and Seed
The growers who run and operate these nurseries are experts in choosing the right plant for the right spot. Describe your garden conditions to them and they will set you up for success.
Gather Materials
Here is a list of 12 essential gardening tools. You will also need fertilizerr, black earth, compost and mulch from your garden center, or generous friedns and neighbours!
The great circle of gardening

This four-season guide allows you to start gardening at any point in the year. Just pick your starting season on the wheel and continue clockwise through your first year. You’ll find everything you need to know on the Planning and Glossary pages.
Why garden with wildlife in mind?
Your garden is critical to restoring habitat and building a healthy future for your region and the wildlife that calls it home. When you fill your garden with plants native to your local environment, you’re helping biodiversity thrive. When everyone does it, we’re helping to grow Canada’s biggest wildlife garden!
Glossary
Collect/Scatter Seeds
Fall is the best season to grow native plants from seeds. Rake bare soil to loosen the top layer, scatter your seeds thinly over the ground and pres down
to loosely pack the soil. The seeds will germinate the following spring. Mark the boundary of the seded area so you can find it the following year.
Master gardener Judith Cox provides quick tips on testing the validity of seeds.
Fertilize
Spread a small amount (about 1L/m?) of your solid fertilizer onto the garden area. Use a stiffrake to mix the fertilizer into the top layer of soil. If you notice any weeds, use the raketo pull them out by the root and mix them into the top layer of soil. This is known as “turning under” the weeds and will help fertilize the soil. Avoid rakingany existing native plants or sprouting seedlings fi present in your garden bed.
Judith Cox’ favorite fertilizer is fish emulsion.
Mulch
Dried leaves make for a perfect protective layer (leaf mulch) for your plants during winter. Take fallen leaves and pile them around your plants to
create a 15-30 cm deep layer. Leaving dried plant stems in the garden also provides homes for insects including native bees and will indicate where plants will re-sprout in spring.
Plant
Dig a hole about twice as deep and twice as wide as the root of the plant. Scatter ahandful of fertilizer and dug-out soil in the bottom ofthehole, place the root into the hole then fil in the gaps with dug-out soil. Gently press the soil down and thoroughly water the plant. Space plants a minimum of 30 cm apart, leaving more room for larger plants. Don’t forget to label your plants.
Protect
Plants in the ground, covered by a layerof leaf mulch, will be perfectly safe over winter. If your plants are in containers, they will need some additional protection. Bring them into a cold garage or shed or wrap them in a tarp, stuffing gapswith dry leaves to make an insulated “cushion” laver.
Solarize
Solarizing “bakes” your soil so that all existing plants and seeds will be killed. Water the area vou’ve chosen(e.g. sectionof lawn or weed patch), cover it with a tarp or thick plastic and weigh it down with bricks or stones. Let the sun’s heat “bake” the area under the tarp for a minimum of fourweeks or until you’re ready to plant. Remove the tarp and rake the area.
Water
During the 4-6weeks after planting, water your plants once every 3-4 days. After this period, water your plants only fi you seesigns of wilting (limp leaves or stems) or browning leaves.
Weed
Generally, shallow-rooted plants or those that grow quickly in the Spring or Fall arelikely weeds. Remove and compost, spreading stems and roots of any weeds. If you’re not sure what something is, leave it, take a picture and ask a garden expert.
Credit: World Wildlife Fund Canada and Carolinian Canada
Download guide here and print it!
Comments

More From Gardening Calendar

Seeds! Glorious Seeds!
Another shopping spot for a “Seed-a-holic” are the Seedy Saturdays and Seedy Sundays. In Almonte it takes place on February 19th 9-3 and in Perth, our Seedy Sunday takes place on March 8 10-3. These events draw many sellers of local Heirloom seeds and Organic seeds
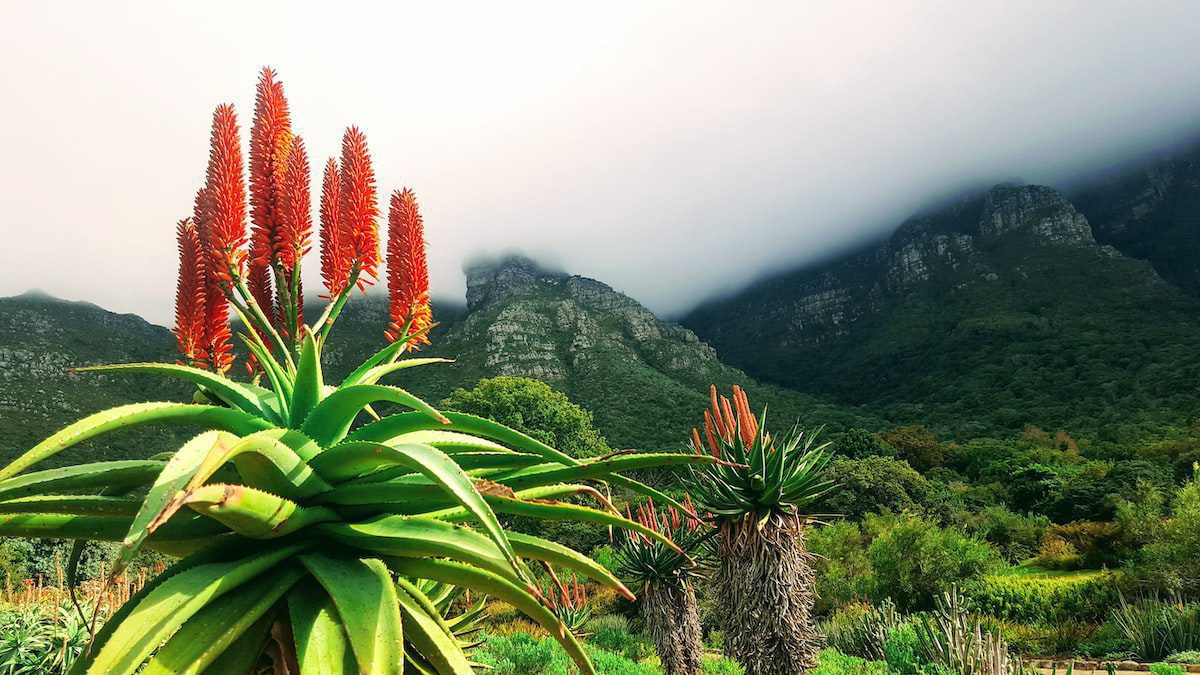
Do Aloe Plants Flower?
Aloe are simple-to-grow succulents in full sun, well-drained soil, and frequent watering. They tolerate a range of minor neglect. Read on.
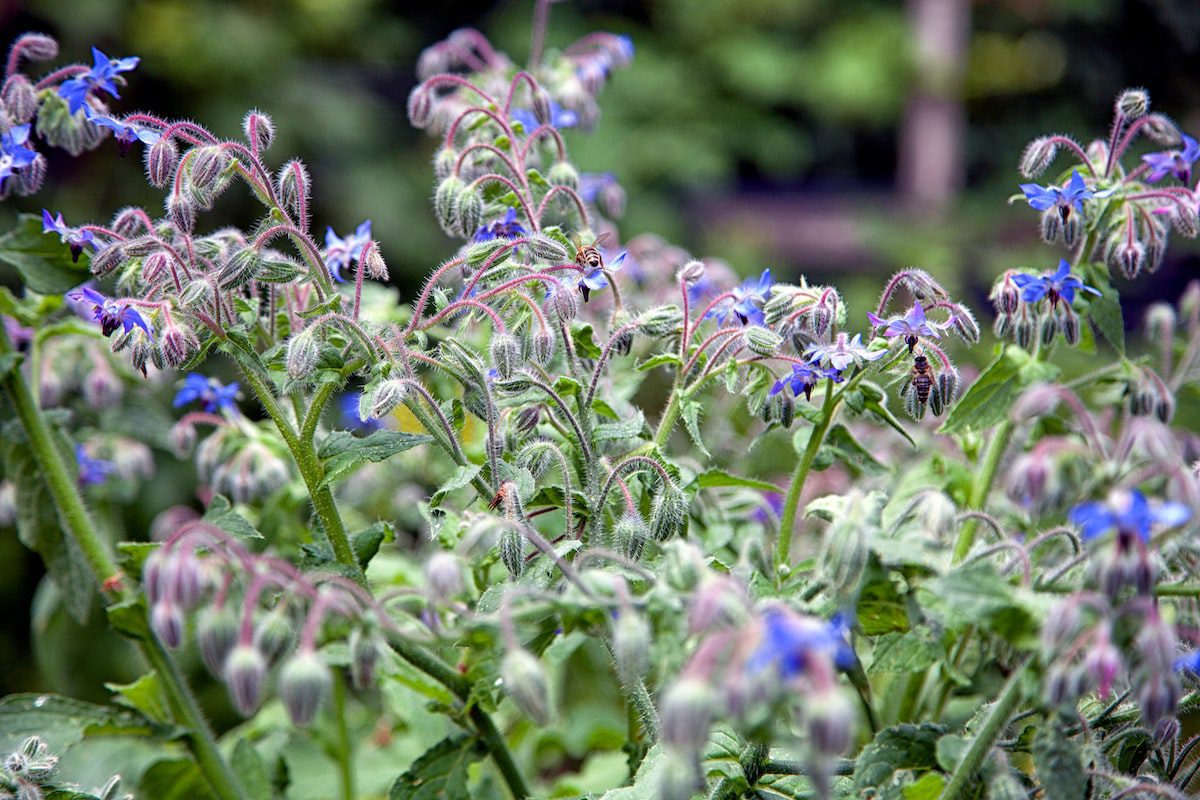
Borage Has Many Uses
Experience a beautiful, self-seeding perennial, Borago officinalis, with bright blue star-shaped edible flowers for your herb or wild garden. Its cucumber-flavored flowers and dark green leaves have various medicinal and culinary uses, such as in salads, fruit salads, and as cooked greens. Borage also attracts pollinators, improves the taste of tomatoes, relieves asthmatic symptoms and more. Learn more about the easy-going benefits of Borage!
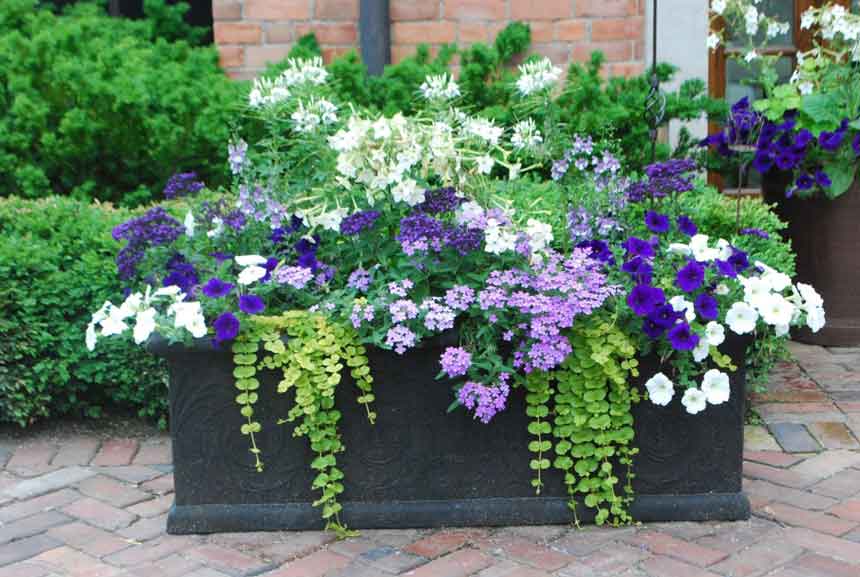
Benefits of Container Gardening
Create your own gorgeous arrangements with minimal effort with container gardening! Learn how you can get started, what you need and the benefits it can bring. See our guide on how to get growing today.
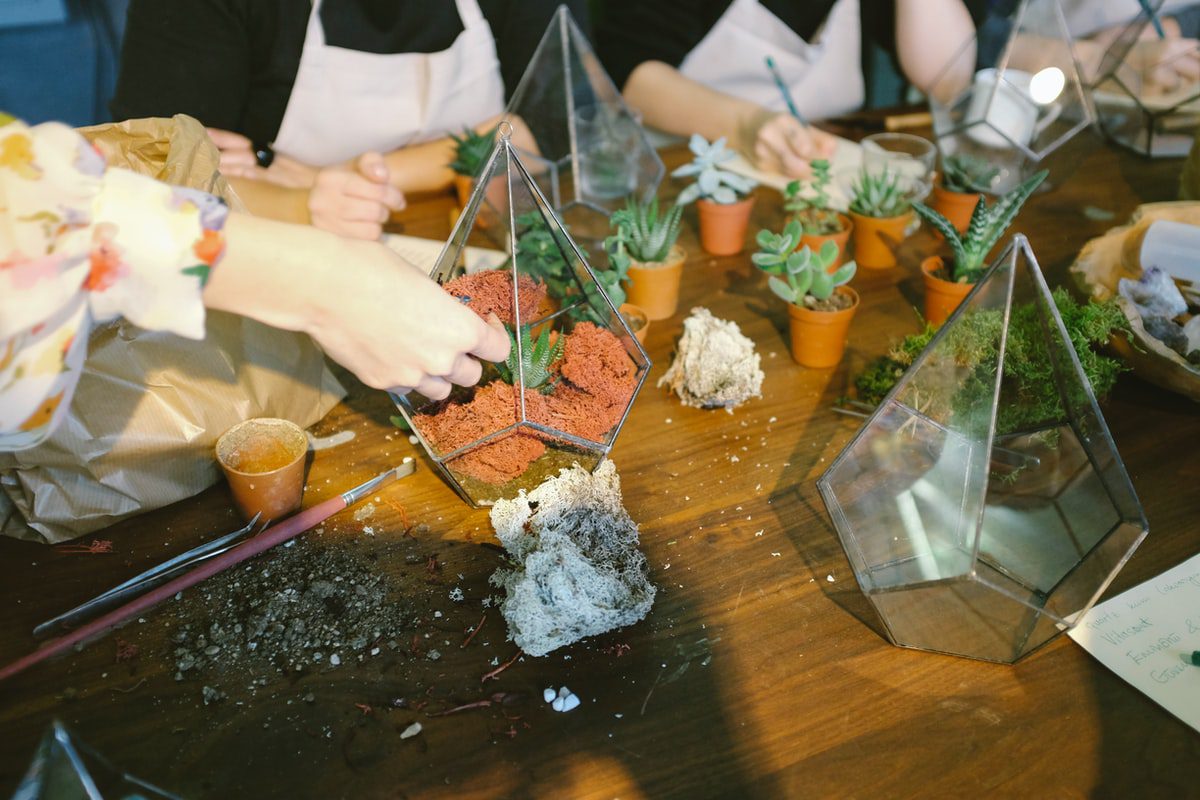
How To Make A Terrarium
Making a terrarium is likely easier than you think. You can assemble them in minutes and enjoy them for months. Here are six easy steps.
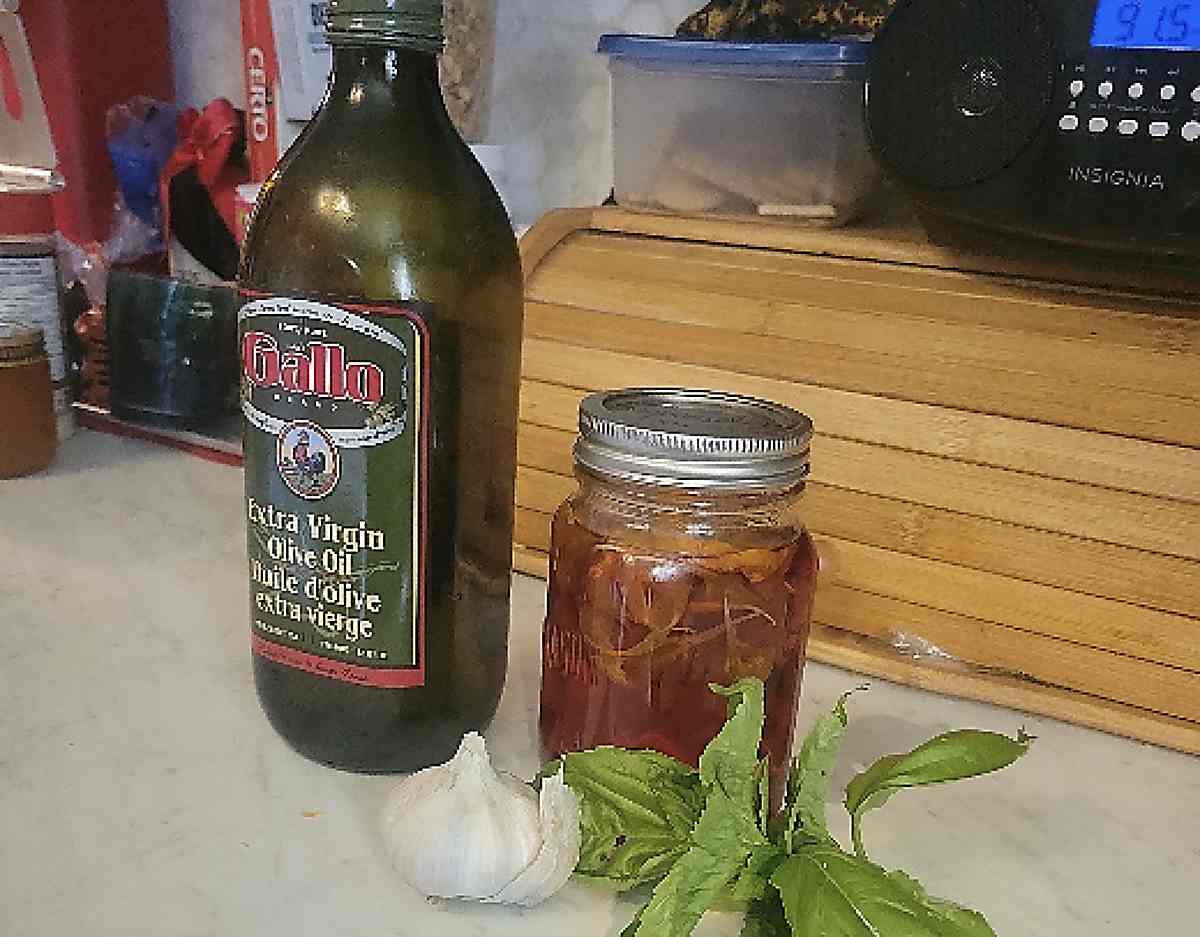
Nasturtium Vinaigrette Recipe
I’m making Nasturtium Vinaigrette by straining my nasturtium vinegar. I like to use basil as my herb, but you can use whatever herb you want.
Leave a Reply
You must be logged in to post a comment.