Your cart is currently empty!

Optimize Fruit Tree Soils for Best Production
In growing fruit trees, optimizing soil plays a key role in tree health and affects how much fruit they produce; soil is the great connector.
Your cart is currently empty!
Guiding your path is without doubt the most important reason to install garden lighting in your home landscape outdoors.
In fact, “important” is not a strong enough word. Lighting of all thoroughfares (if you will excuse the fancy name for the network of walkways, pathways and driveways around your garden and home) is essential.
To walk up an unfamiliar, unlighted front walk in the black of a cloudy night is one of the most frustrating, annoying and even frightening things to many. Check out “Spill lighting” which is very effective.

It is not only difficult to see where you are going, but you are constantly wondering what booby traps are lying in wait for you. You do not dare to rush ahead, yet inching is little better.
This is an experience we have all had. Yet the number of such “darkened” walkways – not to mention paths, steps and driveways – is untold. It is a wonder there are not more skinned shins, torn nylons, broken legs and even face plants.
People bent on robbery or mischief of any kind do not like light. It only makes common sense that if your garden grounds are illuminated, there is less likelihood that anyone will try to break into your home. Even if they do try, there is a likelihood that somebody in the house or surrounding neighborhood will see them.
Outdoor lighting, then, is a real protection.
Nothing is more peaceful and relaxing than sitting on a dark terrace or lawn, watching the stars and talking quietly to someone you like. But how many nights during the summer can you or do you want to do that? Not many.
Some nights you want to lie in a hammock and read. Some nights you want to go for a swim in the backyard pool. Some nights you want to cook out on the BBQ.
Occasionally you want to entertain on the patio or get a little extra garden work done. You need light to do those things.
Outdoor lighting not only lengthens the time you can enjoy the evening coolness of your garden and terrace, but it also expands your living space.
Or, saying it another way, it enriches your life in many ways and turns a small home into a larger one during warm weather.
Unless you cover windows with expensive draperies, they become an eyesore when you are sitting indoors at night.
The view that they admit during the day fades with the setting sun, in its place appears a big rectangle of inky, shiny black. It is a cold, depressing sight that spoils the decoration of the room.
Yet it is so easy to avoid this. All you have to do is install a few lights outdoors so that they illuminate the landscaped garden, lighting trees, palms and shrubs. Another idea is to use rope light for accent lighting of garden beds. Immediately the glass loses its impenetrable, mirror-like blackness and becomes transparent again.
It is foolish to limit enjoyment of your garden to daytime only. For one thing, there are only a few members of the family home during the day to look at it. And the amount of time that they can devote to this pleasant pastime is short.
I don’t think that the average lighted garden is as pretty as a garden in daytime. (It takes a genuine lighting expert to improve on nature.) But it is prettier than a garden enveloped in darkness.
So what could be more sensible than to light your garden for the sake of making it attractive both night and day?
Of course it takes something more than a routine lighting job to do this. But like any other good architectural or landscape feature, superlative lighting definitely does increase a home’s value – often out of all proportion to the cost of the installation.
It takes a house out of the run-of-the-mill class, and can make it a showplace.
Admittedly, few people can justify outdoor lighting for this reason alone. But those who entertain outdoors in a lavish way can. Let a gentleman from Texas speak:
“We went to a big evening garden wedding recently, most of the ladies were wearing fancy new gowns. But not a soul could see them.
The only lights in the garden were a few spots that seemed to be aimed directly into your eyes. Naturally the female guests were a bit unhappy. Maybe the bride felt that she didn’t show off too well, either.” In a well lighted garden, this would not happen.
If you agree that these are good reasons for lighting your home outdoors, why don’t you take action? The job is not difficult. There are very few hard-and-fast rules to observe. And if you need advice or assistance, it is easy to come by.
If you are going the DIY landscape lighting system route and installing garden lighting yourself, the first step is to get clear in your mind what you want to light. The next step is to decide what kind of lighting fixtures you will need.
Then, make it all easy to install and to help clarify your thinking, make a sketch of the area to be lighted and indicate on the “lighting plan” the approximate positions of the outdoor lighting fixtures and the wiring circuits (if required) serving them.
The fourth step is actually to experiment in the garden with the placement of lights. Use portable lamps and extension cords. Do not install anything permanent yet.
Finally, when you are satisfied with the effect you have achieved, install the lights and any required wiring. This makes for a safer, neater installation. Check out this lighting tutorial from thriftydecorchick.com.
Talk with local lighting companies in your area. There are usually a few who you can turn to if you need help, along with getting advice from lighting experts at garden centers like Home Depot and Lowe’s.
If you can afford it, outdoor lighting professionals can take your garden landscape and “paint with light.”
These professionals make outdoor lighting their business. There is no good description for their talents: “landscape illuminator”, “illuminating engineer” or “lighting engineer” to name a few.
In any case, these people are to outdoor lighting what an architect is to home design or a decorator is to interior design.
They not only know so many in’s and out’s of outdoor garden lighting but also, when to use outdoor solar lighting, low-voltage, malibu and all the other many types of exterior lighting fixtures.
On top of that, many are also good landscape designers and have a high degree of artistic ability, like lighting a tree trunk for dramatic effect. Naturally, such talent does not come cheap.
Neither is such talent likely to accept a small assignment. But if you want the best in lighting and you do not want to lift a finger to get it, these are the ones for the job.
Landscape architects may also be of assistance – but by no means all of them. So find out something about the person you are interested in before you hire him. He will charge a fee.
Lighting dealers may sell more than garden lighting and light fixtures, some are excellent “outdoor lighting designers” and stand ready to assist you. But don’t expect very much from the average dealer.
And remember that, if you do locate an expert, it is only fair for you to reward them for their help by buying from them the light fixtures and other equipment you need.
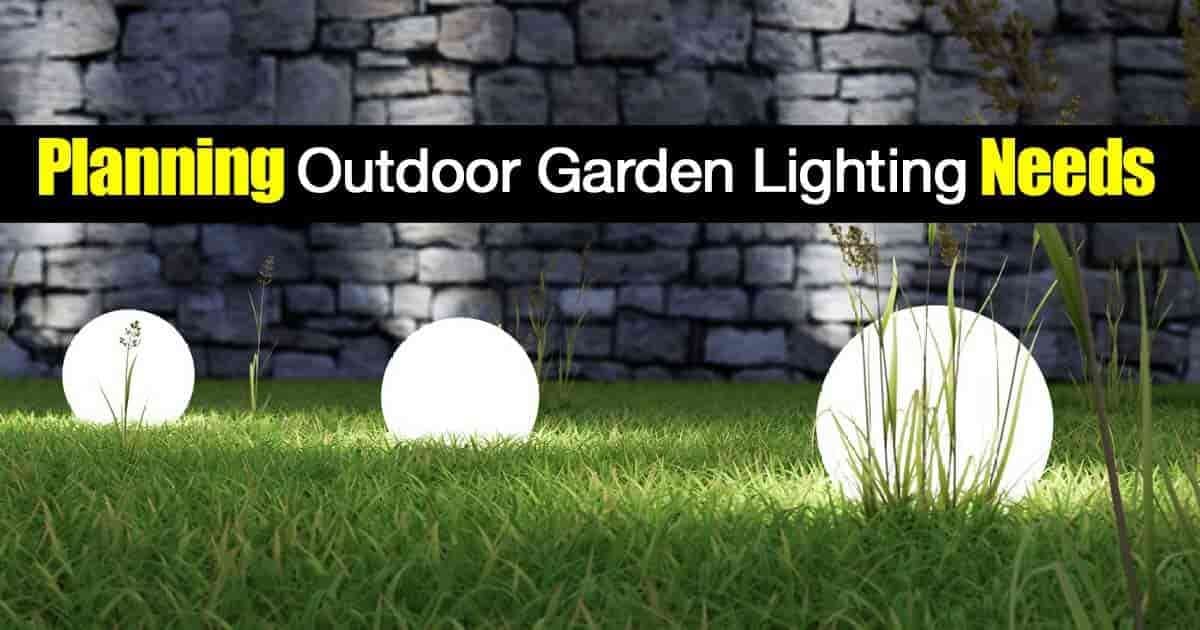
Looking into remodeling your outdoor patio/terrace and make plans on your garden lighting? If you want to enjoy entertainment outside and would like to know how much light you need to add that home curb appeal, consider these important outdoor lighting perspective that we will share.
When properly lit, your open porch, terrace, or patio, will expand the living and entertaining area of your home. This will allow you to enjoy the same comfort and convenience outdoors as you enjoy indoors.
Plan your outdoor lighting installation to meet the specific tastes, type and range of evening activities of your lifestyle.
Generally speaking, light the entire patio/terrace first with a soft over-all glow not unlike that of a full moon.
Afterward you can round it out by installing lighting where needed for reading, eating, or playing games.
When lighting a garden, plan your lighting to be as inconspicuous as practical, and avoid the glaring “gas station” type of lighting.
If your lighting plan needs additional electrical wiring, have an electrician install a number of convenience outlets or plug-in electrical receptacles around the outdoor living area.

These are necessary not only for your radio (yes I know about outdoor wireless speakers), and other electrical needs, but to plug in a number of portable flood lights to have light at the required level of brightness near tables and chairs.
How many outlets you need depends on family activities and on the size of your patio-terrace.
As a minimum, you need at least one duplex weatherproof receptacle for each 15 feet of house wall adjoining your terrace. More would be better as you cannot have too many.
Useful light delivered to any given area or surface usually is measured in terms of foot-candles of illumination. One foot-candle is equivalent to the light given off by one candle at a distance of one foot.
To determine this accurately, use a light meter, such as ones used by a photographer.
If you do not own one, perhaps you can borrow one from a friend who enjoys photography as a hobby. Assuming you can get one, here are the foot-candles of illumination recommended for various outdoor living activities.
|
Foot Candles
|
||
| On tables for eating | ||
| On tables for playing games (cards, scrabble, etc) | ||
| On chairs for reading, etc | ||
| Fill light for surrounding areas used only for conversation, dancing etc. |
This lighting will vary with the brightness of the nearest adjoining lighted area.
For example, next to a brightly lighted reading chair that may have as many as 30 foot-candles, you would want at least 3 or 4 foot-candles so as not to provide too much contrast.
Next to a table for eating (5 foot-candles), you need only about 3/4 foot-candle. As a general rule, have fill-in light with a minimum of one-tenth the value of the brightly lighted area.
The landscape lighting system adds a curb appeal to your home. Apart from giving it an upscale appearance, clever lighting also boosts security. You can choose from many types of lights and light fixtures such as path lights, spotlights highlighting specific features, and floodlights illuminating a wide area.
You can choose between two ways in supplying power to your outdoor lighting. Solar-powered lighting installs easily and does not involve wiring. On the other hand, low-voltage lighting, simply plugs into any outdoor GCFI outlet.
Use lighting kits coming with all the necessary components. However, if you build your own or add to an existing kit, remember to choose a finish that matches your home and other lights.
At night, use a tactical flashlight with the ability to switch between spot and flood mode to see how different lighting styles look in different areas. This will give you more ideas and a chance to rethink the design. Reassign the lighting fixtures and other elements according to aesthetic.
At your house, install fixtures such as path lighting and spotlights in the front yard. This will highlight the landscaping and front of the house. After deciding on your landscape plan, implement the layout for your lights.
Start at the outlet and place the power pack nearby, but don’t plug it in until you assembled all the lights. You can attach the power plug to a post or to the house itself. Lay out the main cable, leaving 10 feet before attaching any lights and simply screw in the cable connectors wherever you want to add a light.
Hide the power cable by using a small trowel to dig a trench, and add a perpendicular trench at each light position for the extra cabling. Push the cables down into the trench and gently push the light stakes partially into the ground. Attach the cabling to the power pack and test the lights by plugging that power pack in. If you like the way it looks, finish it up by pushing the stakes all the way in and closing the cable trenches.
Lastly, set the timer to turn the lights on at dusk and off at dawn. By following these easy steps, your yard’s pleasant glow will definitely catch the eye of the neighborhood and passerbys.
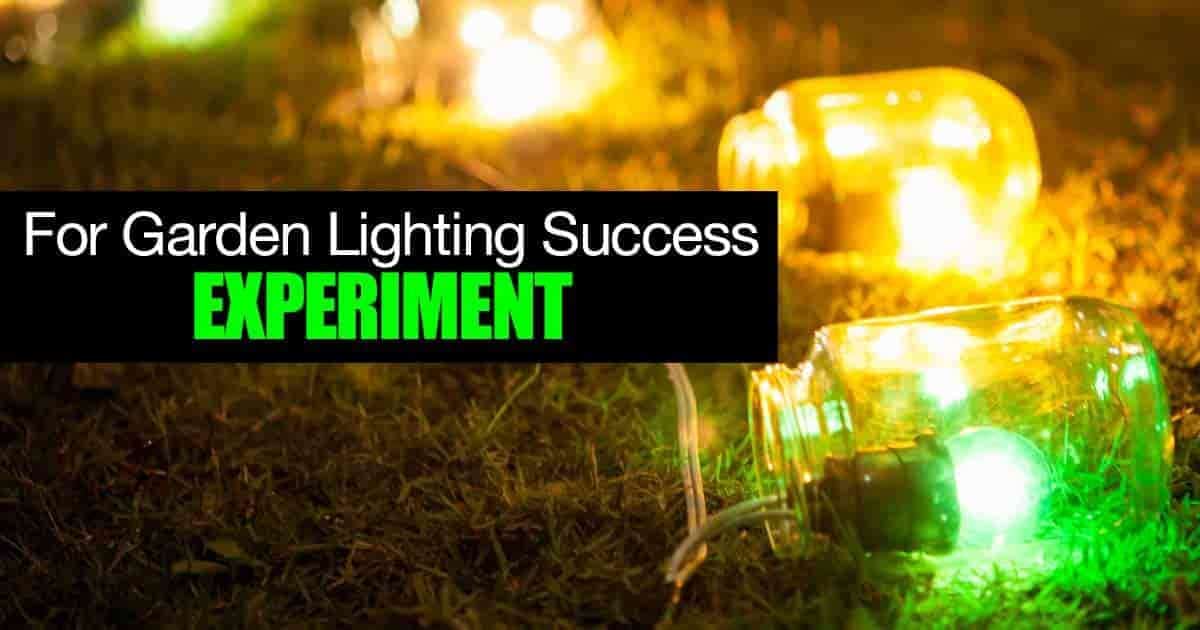
Success with garden landscape lighting comes from experimenting. The only way to test your landscape lighting fixtures and placement is by moving the lights around when night time falls.
For example, you have drawn a plan for placing lightings in the garden landscape, but how will you know if your lighting plant will work and achieve the night time lighting effects that you want?
There is only one answer to success with any landscape lighting design installation – You’ve got to experiment!
The first step required in creating any outdoor landscape lighting scheme is experimentation. That is the only way to satisfy yourself as to the effects your lighting will achieve.
Get out in the garden after dark, use a few long extension cords if you need to. One of the nice features of solar lights in the landscape is once they are charged they can be moved around easily to test different lighting effects with not electric source required.
Make certain to do your home exterior lighting experiment on a dry night, or at least as dry as it is possible to find any garden or lawn area at night. Never install any lighting or connect any wires when the circuit is hot.
Always have everything hooked up and all lamps and light fixtures in place before plugging the extension cord into an outlet. Have one or more flashlights handy to see what you are doing when the cords are unplugged.
First light up the focal points of each area. Take some pictures and study the images and experiment with lighting system from different angles.
Vary the distance of the lights, the angle, and the number. Remember the two cardinal rules:
Once satisfied with a particular scene, indicate the location of each of the lights on your plan, and approximately how it was aimed.
Up from the ground? Down from atop the porch or a tall tree? Or at an angle from off to one side? This can be indicated with a small arrow on your plan or by a brief penciled note.
In growing fruit trees, optimizing soil plays a key role in tree health and affects how much fruit they produce; soil is the great connector.
Keep your dog out of your garden and precious flowerbeds without limiting their freedom. Sometimes they may ingest something harmful.
Find out what each type of flower means – peonies, iris and more – and how you can express yourself by sending a bouquet to your loved ones.
Gardeners are specialists in growing things that enrich the soul and the body too.
Explore the vibrant colors and flavors of fall harvests, from root vegetables to fruits and grains. Learn about traditions, culinary uses, and economic impacts.
Black Vine weevil beetle is a very serious pest in both landscape plantings and in nursery and greenhouse settings.
GardeningCalendar.ca gets some funding from advertisers. If you click on links and advertisements at no cost to you, the site may receive a small commission that helps fund its operation.
© 2025 J&S Calendars Ltd.


Leave a Reply
You must be logged in to post a comment.