Your cart is currently empty!

Hardening Off: Last Stop Before Planting Out
Discover a simpler method for hardening off seedlings and creating protective environments for your plants to avoid sunscald and promote healthy growth.
Your cart is currently empty!
Photo:
Photo credit: Washington State University
Greetings fellow gardeners,
I am tired and happy and covered with ice bags. Life is good.
On Saturday, I decided that I needed to reclaim my hügelkultur. It was surrounded by burdock ‘trees’, and grape vines and a very large branch that came down in the storm that I had not been able to move. I need my hügelkultur for my winter compost, and as many of you know, it is important to the local turkeys and other wildlife.
For those unfamiliar with the term hügelkultur, according to Wikipedia it “is a horticultural technique where a mound constructed from decaying wood debris and other compostable biomass plant materials is later (or immediately) planted as a raised bed.” Mine was started almost eight years ago when a storm took down a large cedar tree in my front yard. I was able to get help cutting it into large logs, but the logs were so large, I couldn’t use them in the woodstove, and the wood was so rotten in parts that if I did burn it, it would smoke a lot. So, I placed these large logs together, and they formed the base of my hügelkultur. I then added branches, soil from planters, plant parts that take forever to break down, and all sorts of slow-moving but compostable things. Over time, I turned it into my winter compost. I would take my kitchen scraps to the chickens along with their seeds, and once they were finished with that, I would toss it on the hügelkultur. When I started doing that, the turkeys discovered it and scratched and pooped all over it, adding to the process. I am so excited that I can do that again this winter.
So, on Saturday, I placed a garbage bag over each huge burdock and cut them at the base. I was able to burn them in my burn pit, along with some papers and tiny branches. Once the burdock was out of the way, I spent a little time picking burrs off my shirt and out of my hair, then grabbed my pruning saw. I approached the branch ready to do battle. It was easier than I thought, as the branch had been sitting there for a while. I was able to just snap off a lot of the smaller branches. I used the pruning saw for the larger pieces. I threw it all on the hügelkultur. What was rather distressing was the discovery of so many grapevines. I pulled them from the ground and found them, then tried to climb up a nearby tree. I got out as many as I could and threw them on too. In the next few days, as I empty my planters, I will put that soil on as well to help with the composting process.
Hugelkultur beds can improve soil fertility and water retention while also providing a sustainable method of plant growth. Here’s how to build a hügelkultur bed:
Hugelkultur beds mimic the natural process of decomposition found on the forest floor and can provide a rich, self-sustaining environment for your plants. Remember, the key to a successful hugelkultur bed is time; the longer it exists, the better it will perform. It can take some time to fully break down and reach their maximum fertility, but they are known for their ability to conserve water, reduce the need for additional fertilizers, and provide a rich growing environment for your plants. They are particularly useful in areas with dry or challenging growing conditions.
There are several common mistakes that people make when implementing hügelkultur:
By avoiding these common mistakes and properly planning and maintaining your hügelkultur beds, you can maximize the benefits of this sustainable organic gardening technique.
I got some help to put plastic panels up in my gazebo so that I can enjoy the space during the colder months. and the too-many cats can stretch out a bit. Next week, I need to add the tarps to the outside of the chicken coop. Winter preparation sure is a lot of work, and I am looking forward to lounging by the woodstove with my seed catalogues.
Enjoy your week. Judith
(Email: sghorticultural@gmail.com) Veggie Bites are available at https://sghorticultural.wixsite.com/website or https://gardeningcalendar.ca/category/veggie-bites/
Discover a simpler method for hardening off seedlings and creating protective environments for your plants to avoid sunscald and promote healthy growth.
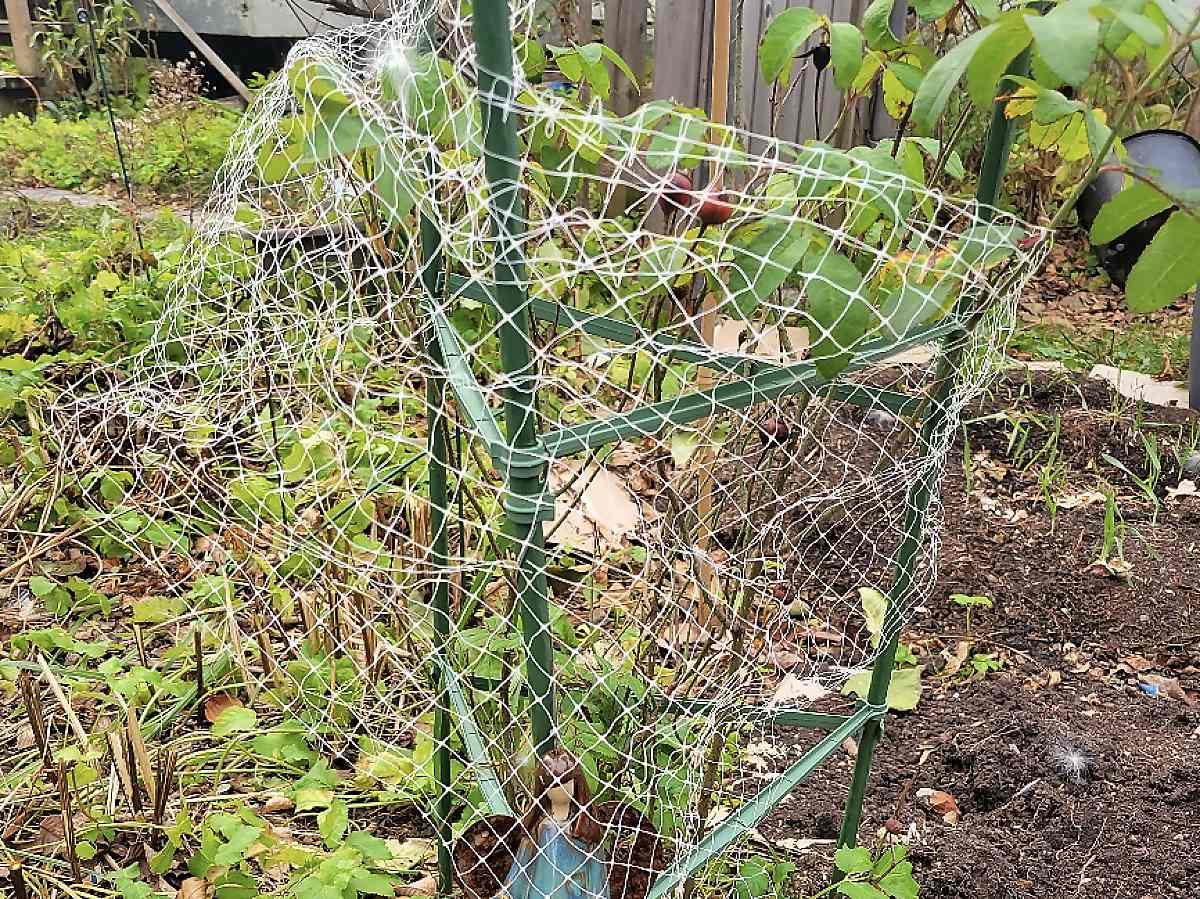
Get expert advice on how to protect your roses this winter with netting, breaking off weak branches, and mulching. Discover why snow is the best insulator, and take tips from Judith on preparing for the Annual General Meeting, Christmas Craft shows, inventory and more.
Canadian Serviceberry’s stunning white spring flowers turn an outstanding orange in the fall. It’s blackberries are a valued source of food.
We discuss how to choose the right plants for your butterfly garden and establish smart practices to provide a safe haven for butterflies.
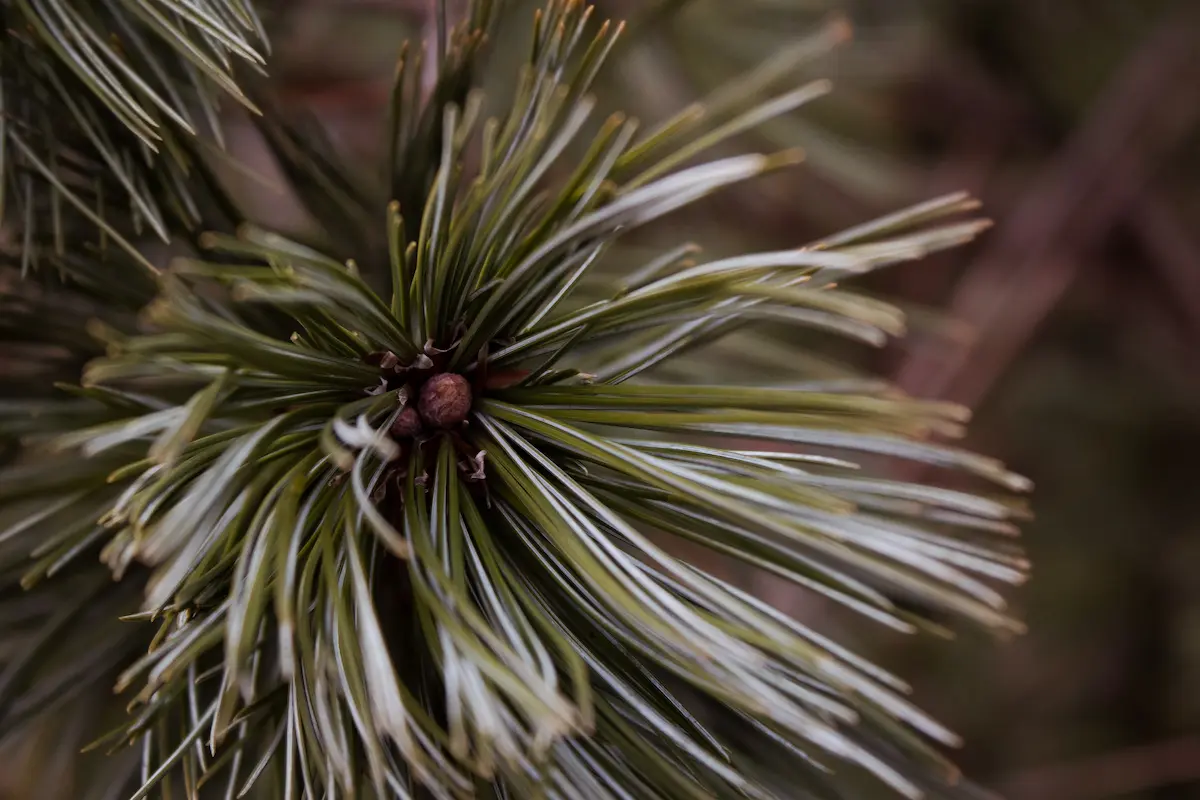
Experience the warmth, comfort, and stimulation of white pine uses, including clearing airways, boosting immunity, and treating common ailments with its rich vitamin C content.
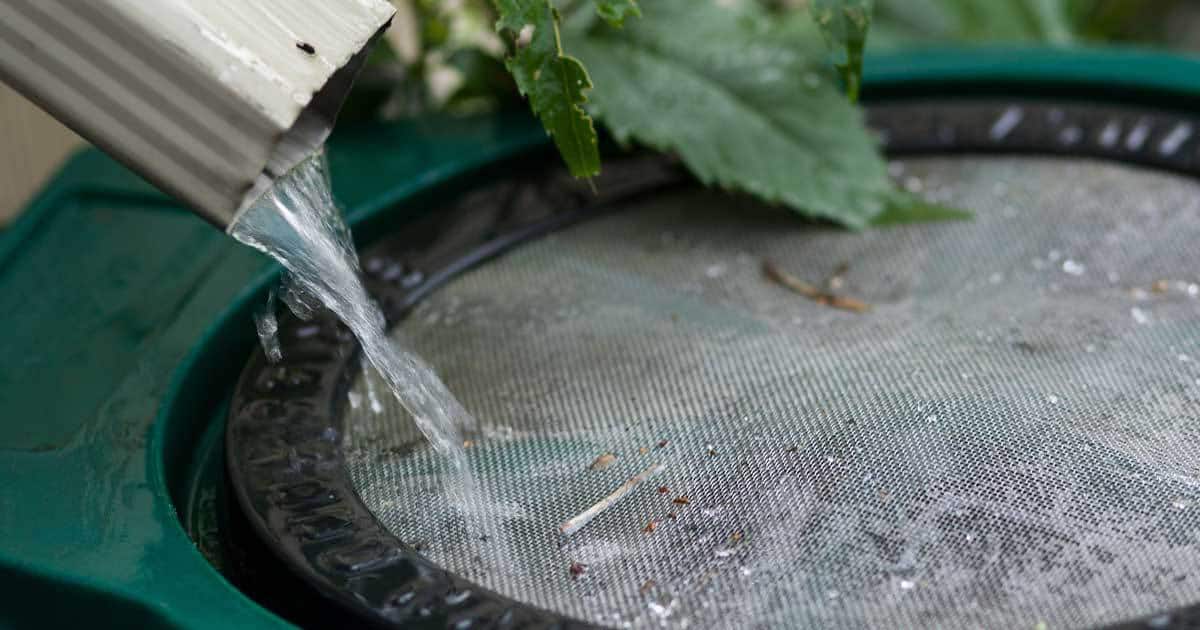
Rain barrels are simply containers that capture and store rainwater for future use. Purchased or DIY, rain barrels can pay for themselves.
GardeningCalendar.ca gets some funding from advertisers. If you click on links and advertisements at no cost to you, the site may receive a small commission that helps fund its operation.
© 2025 J&S Calendars Ltd.


Leave a Reply
You must be logged in to post a comment.