Author: Rebecca Last, Gardening at Last, Master Gardeners of Ottawa-Carleton; published with permission
Are you excited to start seeds? Me too! Before starting, I like to assemble my supplies and equipment. Here’s what you will need to start your own seeds: Most of these things can be found or improvised from household items, so there is no need to rush out and buy stuff.
Start with the Right Soil
The exception is potting soil. Don’t try using your own compost. It’s likely loaded with seeds from mystery plants and will compact, impeding root development in your delicate seedlings. You will need a light, fluffy, sterile, soil-less mix. Regular potting soil works, or you can purchase a seed starting mix, which typically has fewer nutrients and is extra-fluffy.
Obviously, you will also need seeds.
Re-Use Sterilized Plastic Pots
Next, you need something to plant into. There are lots of options. Some people like biodegradable pots or soil blocks. Neither of these options works well for me because they tend to fall apart when I bottom-water my seedlings. I use and re-use plastic pots, washing and sterilizing them with a 10% bleach solution between uses. It’s a good idea to have pots in several sizes and configurations, as well as a few plastic domes or plastic wrap to cover your pots, creating a nice warm environment for germinating seeds. I re-use take-out containers and poke a few drainage holes in the bottom to create mini greenhouses for my seedlings.
Potting indoors can be messy. You can use a newspaper, a drop cloth, or a tarp to catch spilled soil. Several years ago, I bought an inexpensive tabletop tarp with fold-up corners, a good investment if you start seeds each year. Filling multi-cell grow packs can be especially messy. Pouring your soil into a bucket or large bowl, and scooping it out into the cells helps minimize the mess.
Label Your Seed Starts
It’s important to label your seed starts. I usually print labels on my computer and stick them onto the pots using packing tape that covers the whole label, so it is protected from water and the elements. I also save the free labels that come with jam jars and use them for individual pots of seeds. Other folks handwrite their labels on wooden popsicle sticks or old bits of Venetian blinds. The key is to use a pen with indelible ink that won’t fade in sunlight or run if it gets wet.
A Tray that Drips!
You will need a tray of some kind to sit your pots on, letting you bottom-water and contain drips. I kept a few long, narrow sandwich trays from a long-ago catered event because they are the perfect size to fit on a windowsill. The larger drip trays that I use under my grow lights are expensive, about 40 dollars each, but will last for decades and can accommodate two dozen 10 cm (4”) pots. You can save even on this expense by repurposing boot trays.
Think About Water and Light
What else do you need? A spray bottle is helpful for wetting the surface of super-dry potting soil and misting delicate seedlings. You’ll need a watering can and light. If you’re only starting a few seeds, a sunny window sill works fine. I start so many seeds that I need grow lights. Last year, I switched out my old fluorescent grow lights for more energy-efficient full-spectrum LED lights. The lights are on a timer, so my seedlings get fifteen hours of light per day, and I don’t forget to turn them off at night.
The final tool in my seed-starting arsenal is an oscillating fan, which continuously agitates the seedling stems, strengthening them. It also ensures good air circulation, which is the best possible antidote to the deadly damping-off fungus (Pythium and Rhizoctonia spp.). Now that you’ve got your tools lined up, you’re ready to start planting. Go forth and multiply.
About the Author
Comments

More From Gardening Calendar
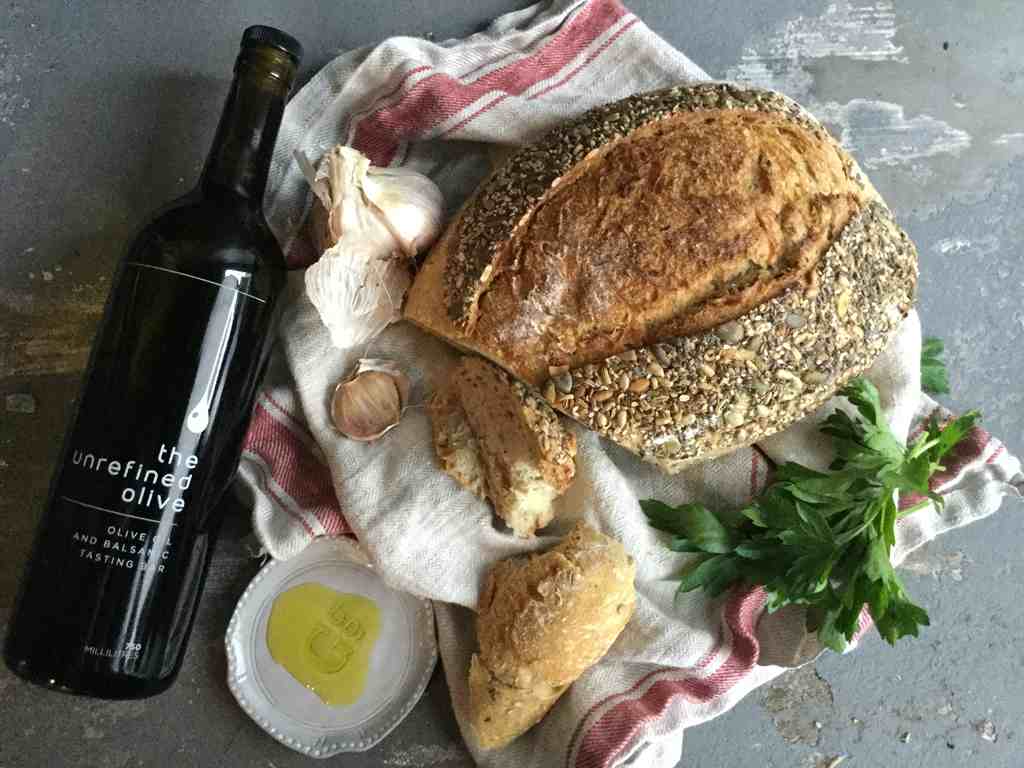
What is ‘Extra Virgin’: Demystifying Olive Oil
The terminology of ‘Extra Virgin’ was coined by the Romans to stop the practice of throwing hot water onto the olives before, and during crushing.
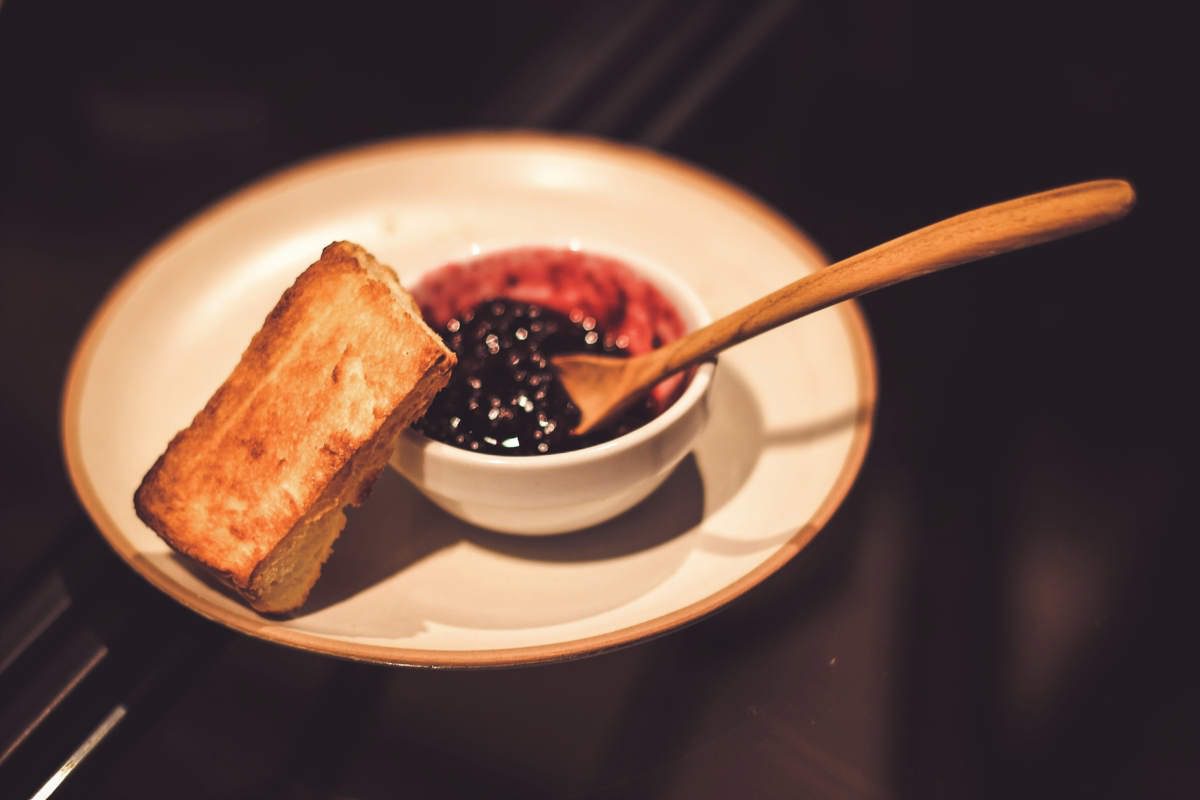
Pimentos, Beans and Red Pepper Jelly Recipe
This week’s tour around the garden features Scarlett Runner beans, Pimentos and ends with a favourite Red Pepper Jelly recipe and benefits.
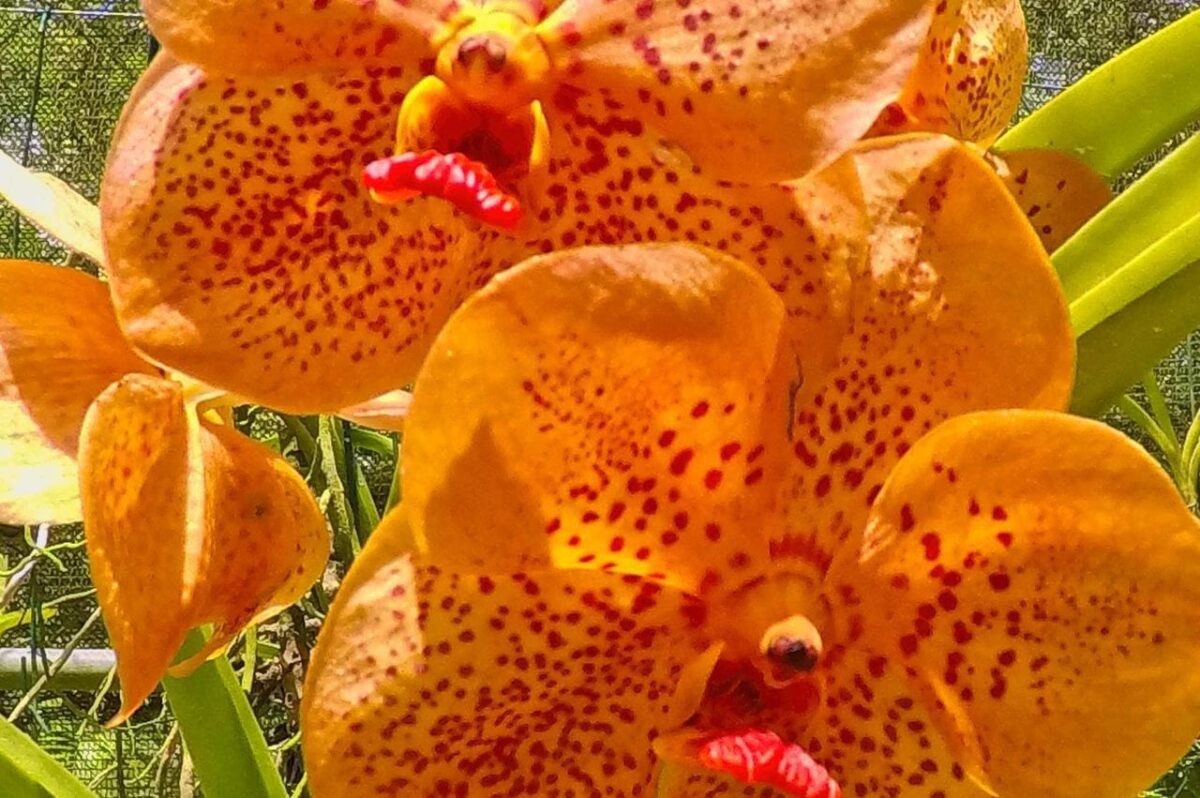
Orchid Care Is About Recreating Habitats
Basic orchid care attempts to recreate the habitat in which a certain variety of orchid developed. We discuss how to care for orchids.
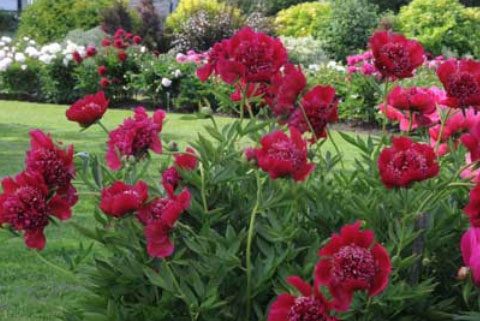
Veggie Bites – Peonies
Peonies are very particular about their depth of planting. If you cover up the base of the peonies with soil, you will not get blooms.
Pergola Design: Make Your Backyard A Beautiful Hangout
Proper pergola designs are a beautiful and easy way to make your outdoor space feel like an oasis! Pergolas use posts for structural support.
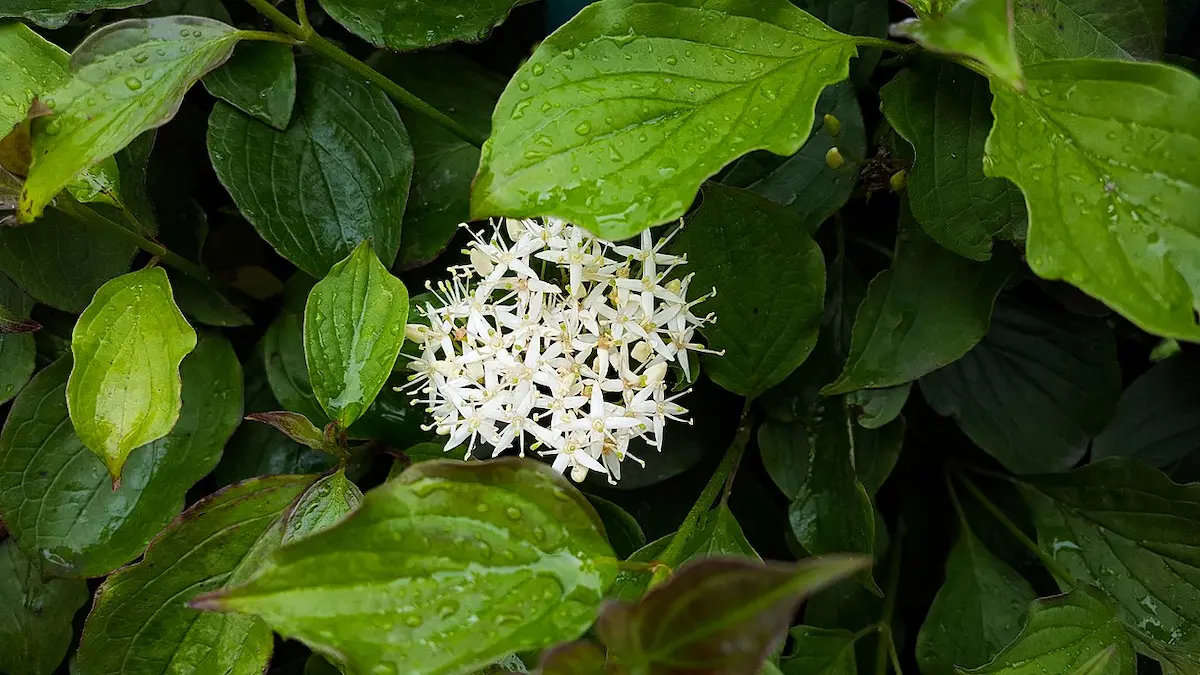
Grey Dogwood Care and Use
Grey Dogwood is a native shrub with great adaptability, great for naturalizing a vareity of locations. Discover more.
Leave a Reply
You must be logged in to post a comment.